Importance of securely erasing data from encrypted disks
Securely erasing data from encrypted disks is important for several reasons. First, it ensures that sensitive information cannot be accessed by unauthorized individuals. Even if the disk is encrypted, there may be residual data that can be recovered using specialized software or techniques. By securely erasing the data, you can be sure that it is completely irretrievable. Second, securely erasing data from encrypted disks can help protect your privacy.
Understanding Encrypted Disks
Encrypted disks are a type of storage device that uses encryption to protect data stored on it. Encryption is the process of converting data into code that can only be deciphered with a specific key. Encrypted disks are commonly used to store sensitive information, such as financial data, personal information, and confidential business data.
Definition And Purpose of Encrypted Disks
Encrypted disks are storage devices that use encryption to protect the data stored on them. Encryption is the process of converting data into code that can only be deciphered with a specific key. The purpose of encrypted disks is to ensure that sensitive information stored on them remains secure and inaccessible to unauthorized parties. They are commonly used to store financial data, personal information, and confidential business data.
Benefits of using encrypted disks for data security
There are several benefits of using encrypted disks for data security:
1. Protection against data breaches: Encrypted disks provide an extra layer of protection against data breaches. Even if a hacker gains access to the disk, they will not be able to read the data without the encryption key.
2. Compliance with regulations: Many industries are required to comply with data security regulations such as HIPAA, PCI-DSS, and GDPR. Encrypted disks can help organizations meet these regulations and avoid costly fines.
Preparing for Data Erasure
When preparing for data erasure, there are a few important steps to follow:
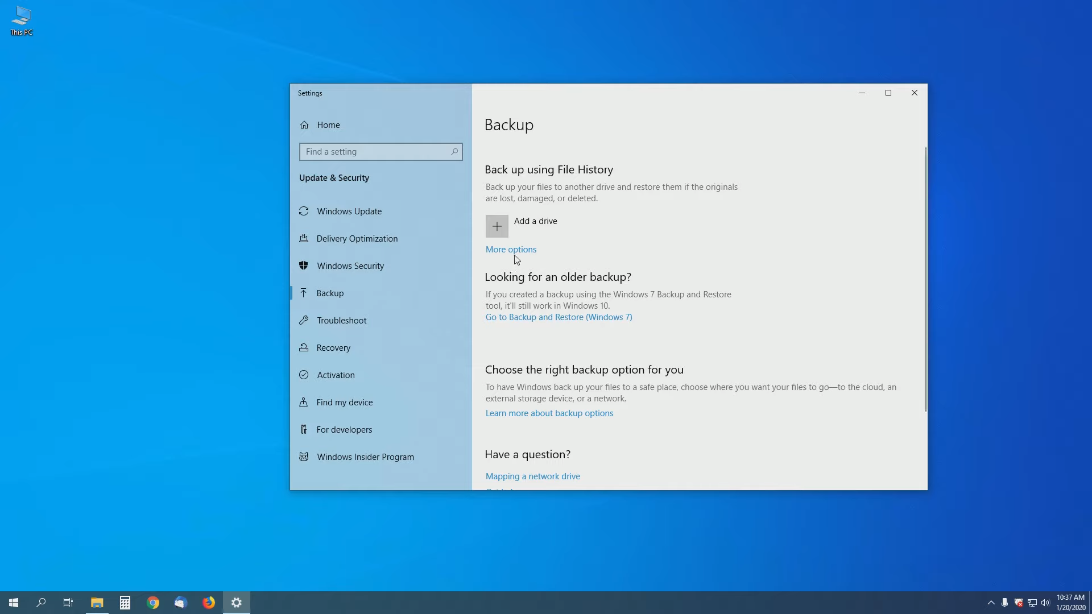
1. Back up important data: Before erasing any data, make sure to back up any important files or information that you may need in the future.
2. Choose a secure erasure method: There are several methods for erasing data, including overwriting, degaussing, and physical destruction. Choose a method that meets your security needs and complies with any regulations that may apply.
Backing up Important Data And Files

is the first and most crucial step when preparing for data erasure. This ensures that you have a copy of all the important information that you may need in the future. It is recommended to store the backup data in a secure location, preferably on an external hard drive or in the cloud. The next step is to choose a secure erasure method that meets your security needs.
Verifying Data Backups
Verifying data backups is an important step in ensuring that the backup data is accurate and can be used in the future if needed. You can verify the data backups by comparing the files in the backup to the original files to ensure that they are identical. It is also recommended to test the backup data by restoring it to a separate location and checking that it is functional. This will help you identify any issues with the backup data before you need to use it in an emergency.
Ensuring You Have The Necessary Tools And Software
It is also crucial for successful data backups. Make sure that the backup software is compatible with your operating system and that it can handle the amount of data you need to back up. Additionally, consider using encryption software to protect your backup data from unauthorized access. It’s also important to establish a backup schedule that fits your needs. Depending on the amount and frequency of data changes, you may need to back up your data daily, weekly, or monthly.
Step-by-Step Guide: Deleting Data from an Encrypted Disk
Step 1: Decrypting the Disk
Before deleting data from an encrypted disk, you will need to decrypt the disk first. Here are the steps to do so:
1. Open the encryption software that you used to encrypt the disk.
2. Locate the option to decrypt the disk and select it.
3. Follow the prompts to enter the password or key required to decrypt the disk.
4. Wait for the decryption process to complete.
Step 2: Secure Data Erasure
Once the disk has been decrypted, you can proceed with securely erasing the data. Here are the steps to do so:
1. Open a data erasure software program that supports encrypted disks.
2. Select the option to erase the data on the decrypted disk.
3. Choose the level of erasure that you want to perform. The higher the level, the more secure the erasure will be.
4. Follow the prompts to start the erasure process.
Step 3: Disk Formatting

After securely erasing the data, the next step is to format the disk. This will prepare the disk for reuse or disposal. Here are the steps to format the disk:
1. Open the disk utility program on your computer.
2. Select the decrypted disk that you want to format.
3. Choose the option to format the disk.
4. Select the file system that you want to use for the disk. If you are unsure, choose the default option.
Step 4: Partitioning the Disk
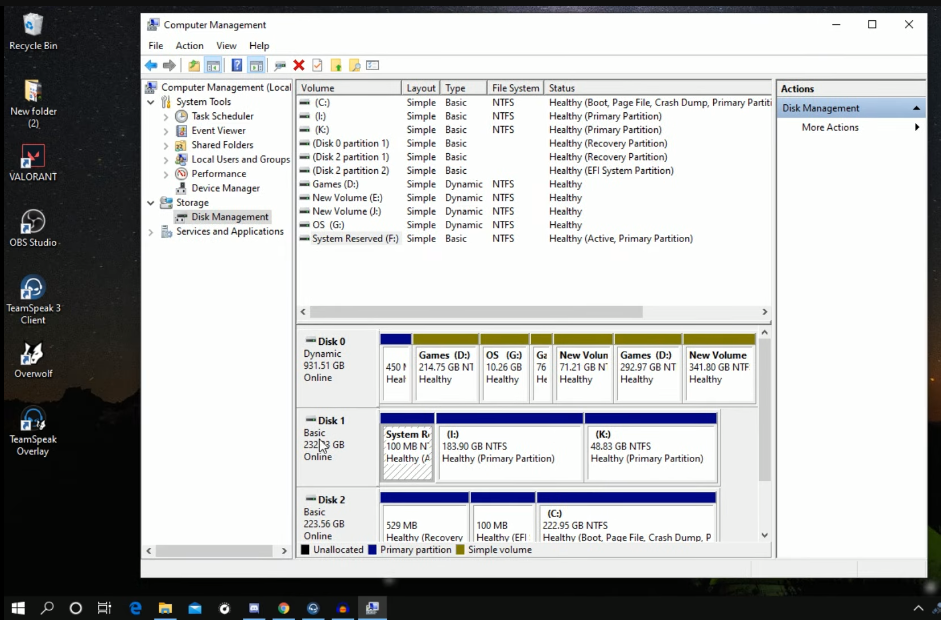
Partitioning the disk is an optional step that can be useful if you want to divide the disk into multiple sections for different purposes. Here are the steps to partition the disk:
1. Open the disk utility program on your computer.
2. Select the decrypted disk that you want to partition.
3. Choose the option to partition the disk.
4. Select the number of partitions you want to create and adjust the size of each partition as needed.
5. Choose the file system for each partition.
6. Click the apply button to save the changes.
Note that partitioning the disk will erase all data on the disk, so make sure to back up any important files before proceeding.
Step 5: Installing the Operating System

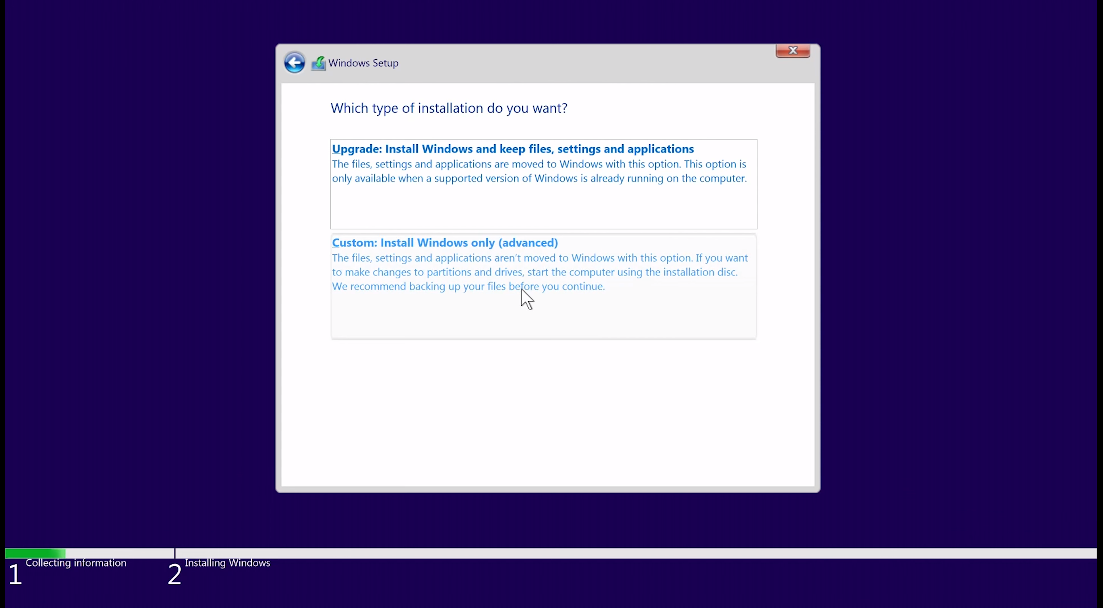
1. Insert the installation media (such as a USB drive or DVD) containing the operating system.
2. Restart your computer and boot from the installation media.
3. Follow the prompts to select the language, time zone, and keyboard layout.
4. Choose the option to install the operating system and select the partition where you want to install it.
5. Follow the prompts to complete the installation process, including setting up user accounts and configuring settings.
Verifying Bootable Disk Status
To verify if a disk is bootable, follow these steps:
1. Insert the disk into your computer’s disk drive.
2. Restart your computer and enter the BIOS setup menu.
3. Look for the boot order settings and make sure the disk drive is set as the first boot device.
4. Save the changes and exit the BIOS setup menu.
5. Wait for the computer to boot from the disk. If it does, the disk is bootable.
Conclusion
In conclusion, verifying the bootable disk status is an important step to ensure that the disk can be used to boot up a computer. By following the steps of inserting the disk, entering the BIOS setup menu, configuring the boot order settings, and checking if the computer boots from the disk, you can determine if the disk is bootable or not. This process can help troubleshoot boot issues or prepare a computer for a new operating system installation.
Frequently Asked Questions (FAQs)
What is the difference between software-based and hardware-based encryption?
Software-based encryption refers to the use of encryption software to protect data. This type of encryption is typically implemented through the use of encryption algorithms and can be applied to individual files, folders, or entire hard drives. Hardware-based encryption, on the other hand, involves the use of specialized hardware to encrypt data. This can include self-encrypting hard drives or USB drives that have built-in encryption capabilities.
Is it possible to recover data from an encrypted disk after it has been securely erased?
If a disk has been securely erased, it is generally not possible to recover any data from it, even if it was previously encrypted. Secure erasure involves overwriting the entire disk with random data multiple times, making it virtually impossible to recover any data that was previously stored on the disk. However, it is important to note that the effectiveness of secure erasure can depend on the specific software or method used to perform the erasure.
Can I use the same process to delete data from an external encrypted disk?
Yes, you can use the same process to securely erase data from an external encrypted disk. Just make sure that you have decrypted the disk before erasing it, as erasing an encrypted disk may not be effective in securely erasing the data. Additionally, ensure that you are using reliable software or method to perform the erasure, as the effectiveness of the process can vary depending on the specific tool used.
Are there any risks involved in making an encrypted disk bootable again?
Yes, there are some risks involved in making an encrypted disk bootable again. If the disk was previously compromised or infected with malware, making it bootable again could potentially reintroduce those threats. Additionally, if the encryption key or password was compromised, making the disk bootable again could allow unauthorized access to the data. It is important to thoroughly assess the security risks and take appropriate measures to mitigate them before making an encrypted disk bootable again.
What precautions should I take before starting the data erasure process?
Before starting the data erasure process, it is important to back up any important data that you want to keep. You should also ensure that you have the proper permissions and authority to perform the data erasure, as well as any necessary tools or software. Additionally, you should verify that the disk or device you are erasing is the correct one, to avoid accidentally erasing the wrong data.
