
USB Secure, from NewSoftwares.net, provides a direct and efficient way to interact with your secure drive. By enabling the "Execute on Autoplay" feature, the application will automatically run when you plug in your drive, saving you the step of having to launch it manually. This guide will show you how to set this up.
Purpose and Benefits
The purpose of "Execute USB Secure on Autoplay" is to automatically launch the application's home screen whenever the drive is connected. The benefit is pure efficiency. It saves the user a manual step, ensuring that USB Secure is always ready for use as soon as the drive is plugged in. This is ideal for users who prioritize speed and convenience in their workflow.
Steps to Execute USB Secure on Autoplay
Step 1: Open Your USB Drive and Launch USB Secure
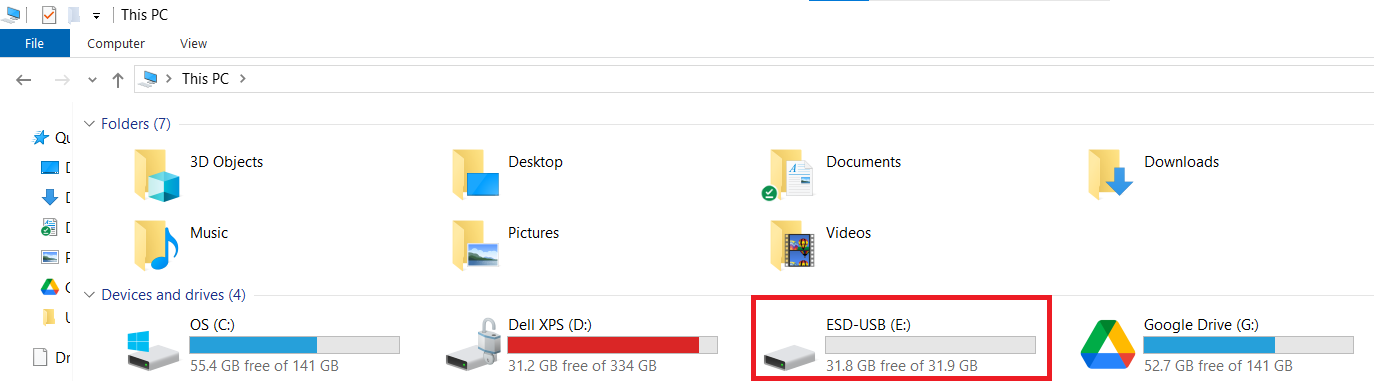
- Plug in the USB drive with USB Secure installed into your computer.
- Navigate to the drive in your computer's File Explorer.
Step 2: Launch the USB Secure Application
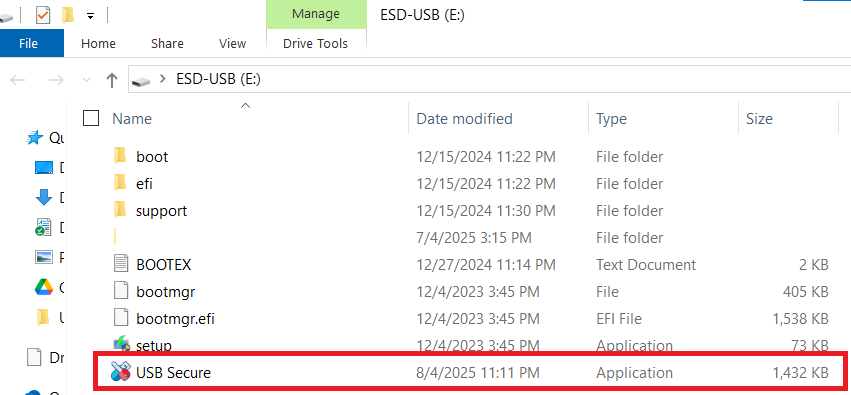
- On your USB drive, locate and double-click the USB Secure application file to open the software's home screen.
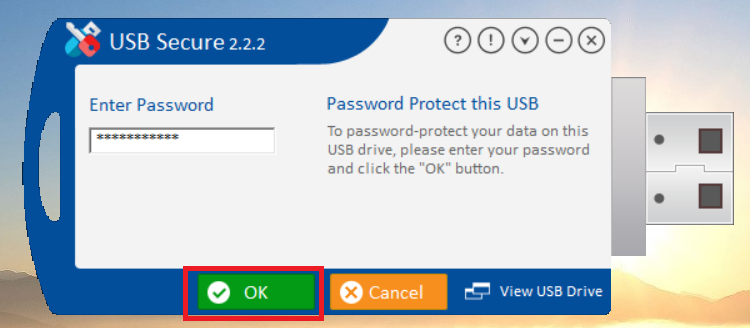
- Enter the password, You have set during the installation process.
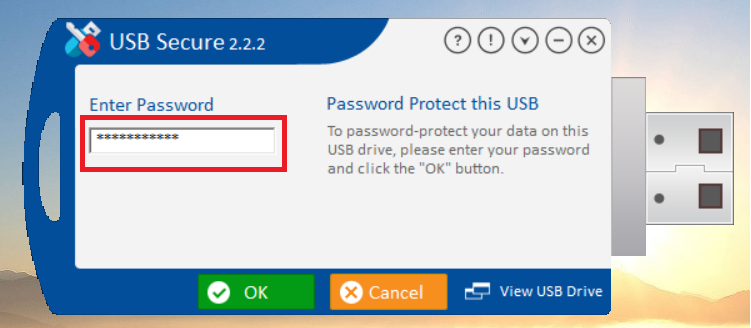
- Click Ok.
Step 3: Access the Options Menu
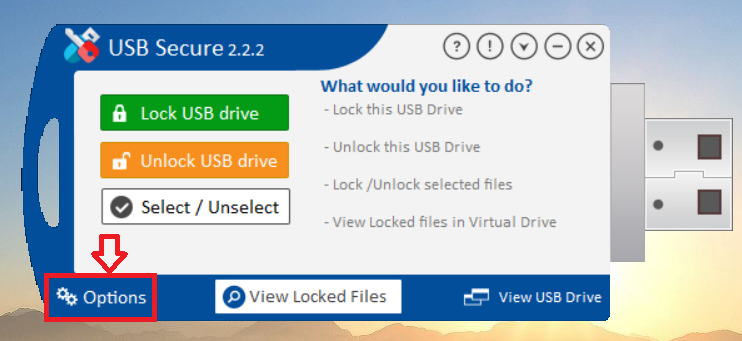
- On the USB Secure home screen, look for the "Options" button, which is typically found in the bottom-left corner.
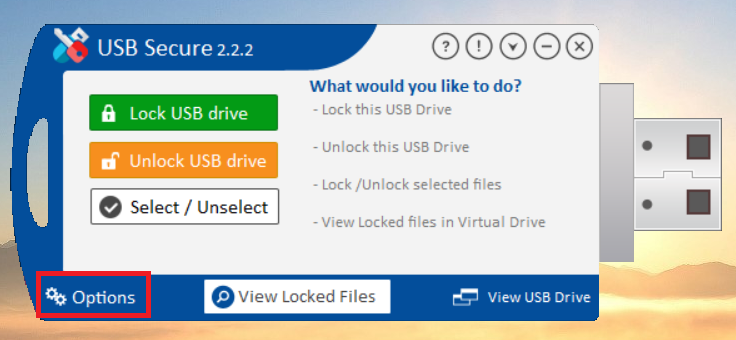
- Click on "Options" to open the settings menu.
- The settings menu will appear as shown below
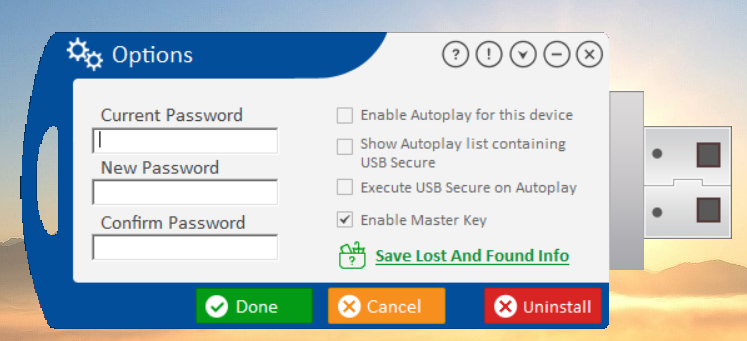
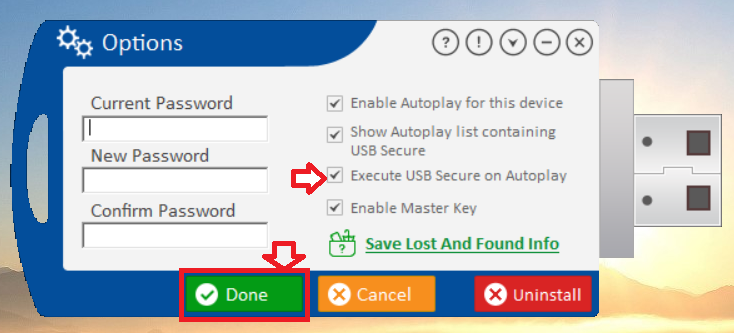
Step 4: Enable Execution on Autoplay
- In the Options menu, find the checkbox labeled "Execute USB Secure on Autoplay."
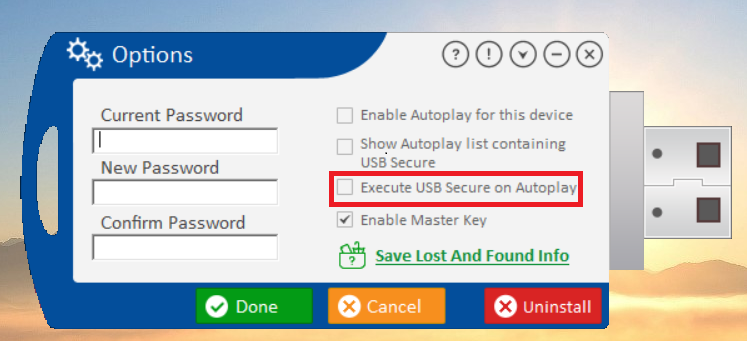
- Check this box to enable the application to automatically run when your drive is plugged in, provided that the main "Enable Autoplay for this device" option is also active.

Step 5: Save Your Changes
- Click the green "Done" button to apply the new setting.
With this feature enabled, you have automated your security workflow. The application will now launch automatically, eliminating manual steps and providing an instant-access point to your drive's security features. This seamless integration ensures that USB Secure is always ready to work, giving you both a high level of protection and unmatched convenience.