
USB Secure, from Newsoftwares.net, provides a crucial layer of security by allowing you to view your encrypted files without having to fully unlock the entire portable drive. The "View Locked Files" feature opens a secure virtual drive, enabling you to safely interact with your protected data and verify its contents, all while your drive remains password-protected.
Steps to Access Locked Files in Virtual Drive USB Secure
Prerequisite
This guide assumes you have already locked files on your portable drive using USB Secure.
Follow these simple steps to access your data in the Virtual Drive:
Step 1: Open Your USB Drive and Launch USB Secure
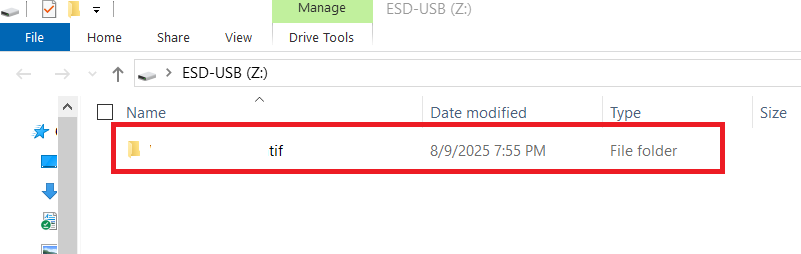
- Plug in the USB drive with USB Secure installed into your computer.
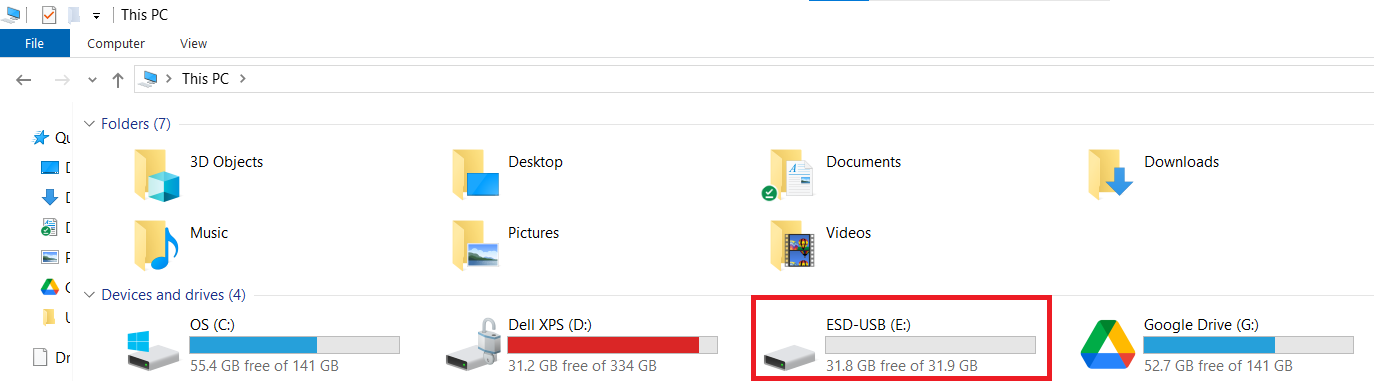
- Navigate to the drive in your computer's File Explorer.
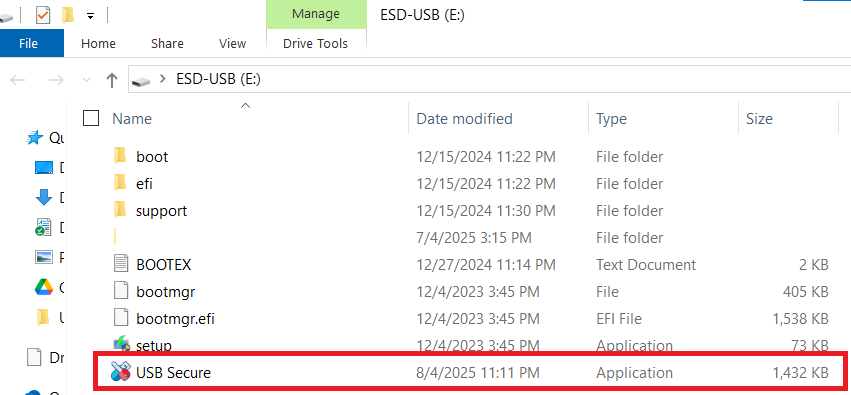
Step 2: Launch the USB Secure Application
- On your USB drive, locate and double-click the
USB Secureapplication file to open the software's home screen.
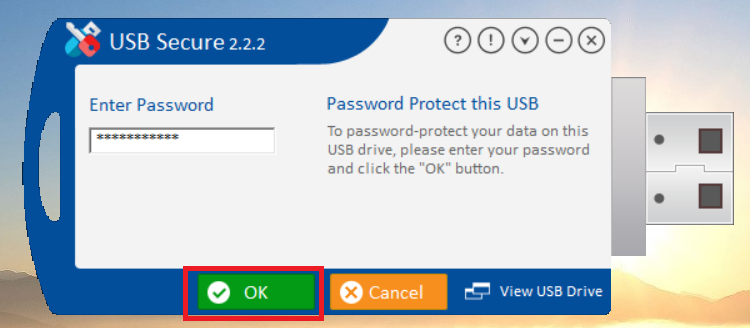
- Enter the password, You have set during the installation process.
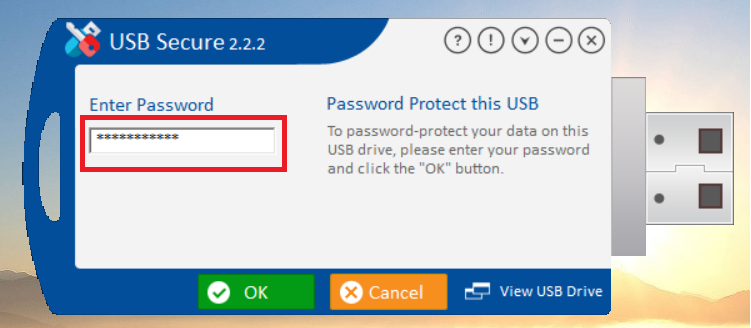
- Click Ok.
Step 3: Accessing Locked Files
- On the main screen of USB Secure application, look for "View Locked Files" and click on it.
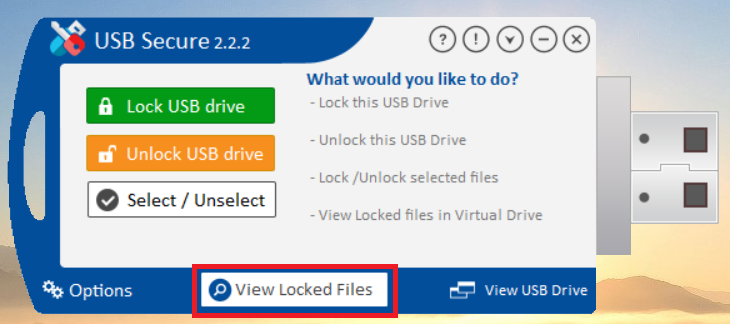
- A new window will appear, which is your secure virtual drive.
- You can now safely see and interact with all the files you have locked. This allows you to quickly view your protected data without compromising the overall security of your drive.
By following these steps, you can confidently access your files in the virtual drive, ensuring that your data remains protected and private, even when you are just checking its contents.