
Folder Lock, from Newsoftwares.net, provides a crucial "Portable Lockers" feature that allows you to secure your data for sharing or transport. This powerful tool creates a single, encrypted file (.flka) that acts as a secure, self-contained vault. It can be easily moved to USB drives. This ensures that your confidential data remains password-protected and secure, regardless of where it is stored or transferred, giving you peace of mind that your privacy is maintained even when your files are on the move.
Steps to Transfer Portable Lockers to a USB Drive
Pre- Requisites
- You have already created your Portable Locker. If not check our user guide on How to Create Portable Lockers
- To open a portable locker on another device, the Folder Lock application must be installed on that computer.
- Connect Your portable USB drive with the device containing your installed Folder Lock.
Part 1 Accessing Portable Lockers
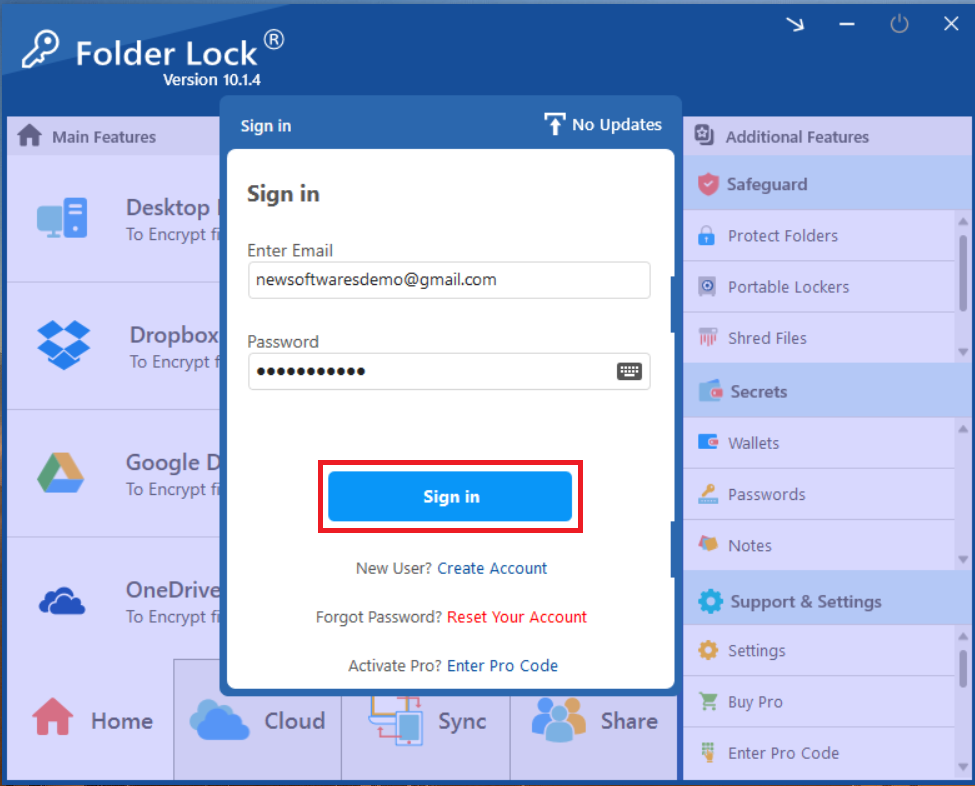
Step 1: Open Folder Lock and Log In
- Begin by launching the Folder Lock application on your computer. Locate the Folder Lock icon on your desktop or in your Start menu and double-click it.
- Once the application opens, you'll be prompted to enter your master password. Input your credentials to log into your Folder Lock account.
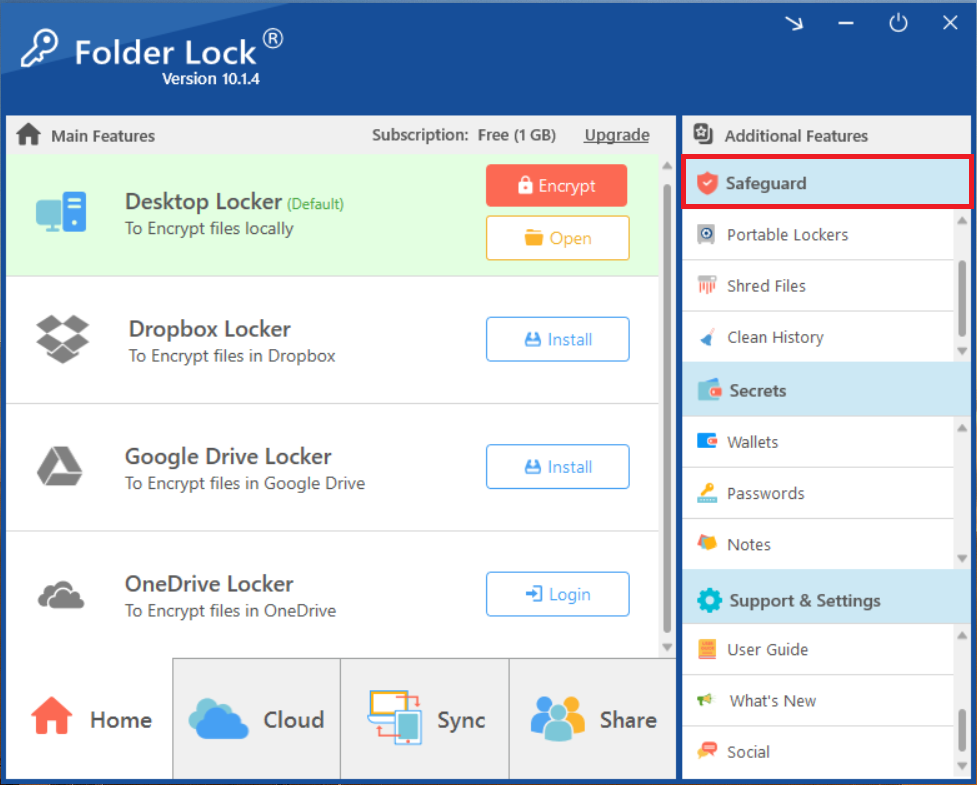
Step 2: Access the "Safeguard" Section
- On the main screen of Folder Lock, click on the "Safeguard" option. Look for the "Safeguard" tab or button in the right sidebar.
Step 3: Choose "Portable Lockers"
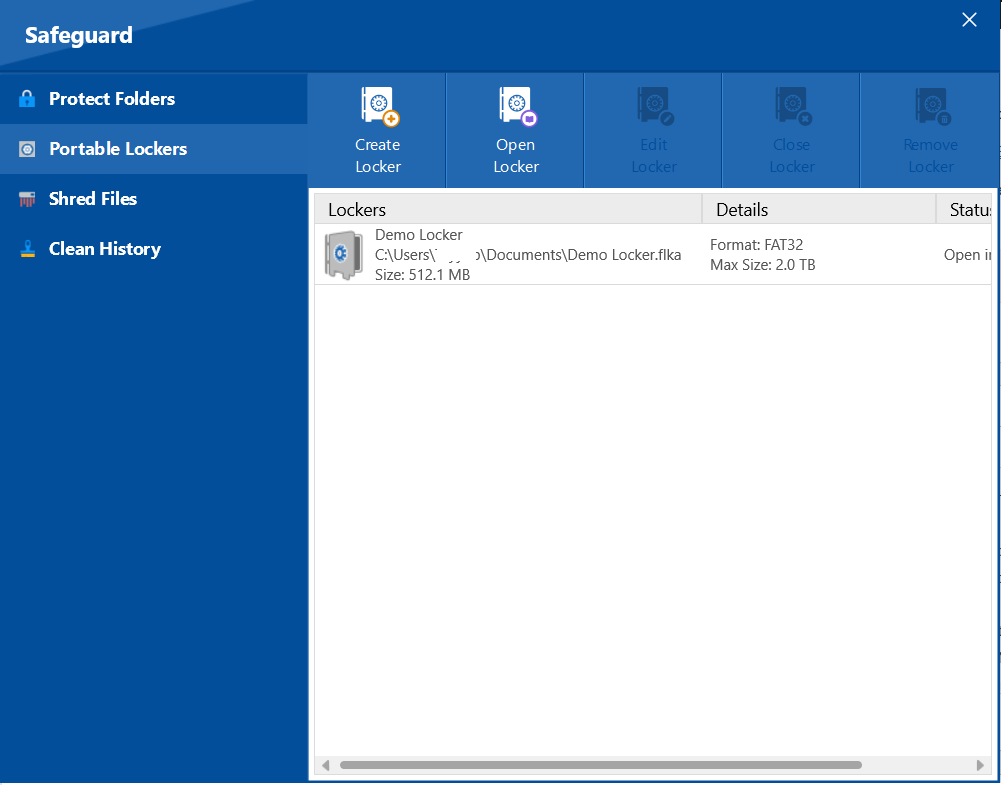
- Within the "Safeguard" section, select the "Portable Lockers" feature. Look for the icon or text labeled "Portable Lockers" among the options in the "Safeguard" menu and click on it.
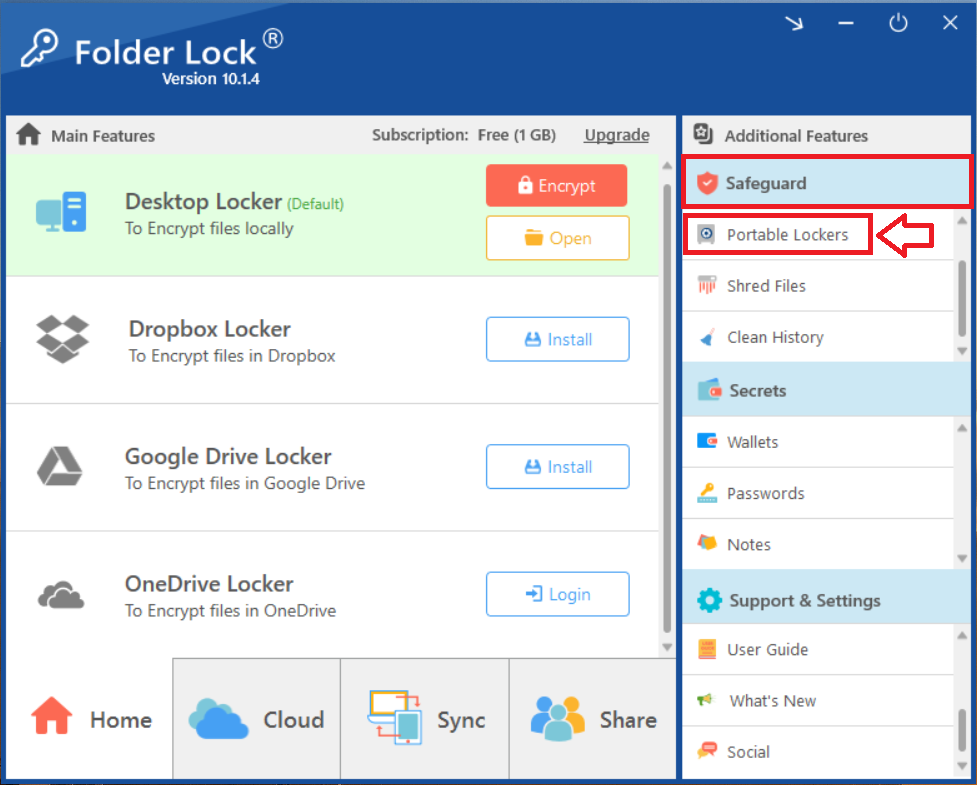
- Clicking on "Portable Lockers" will display your portable lockers.
Part 2: Transferring the Portable Locker to a USB Drive
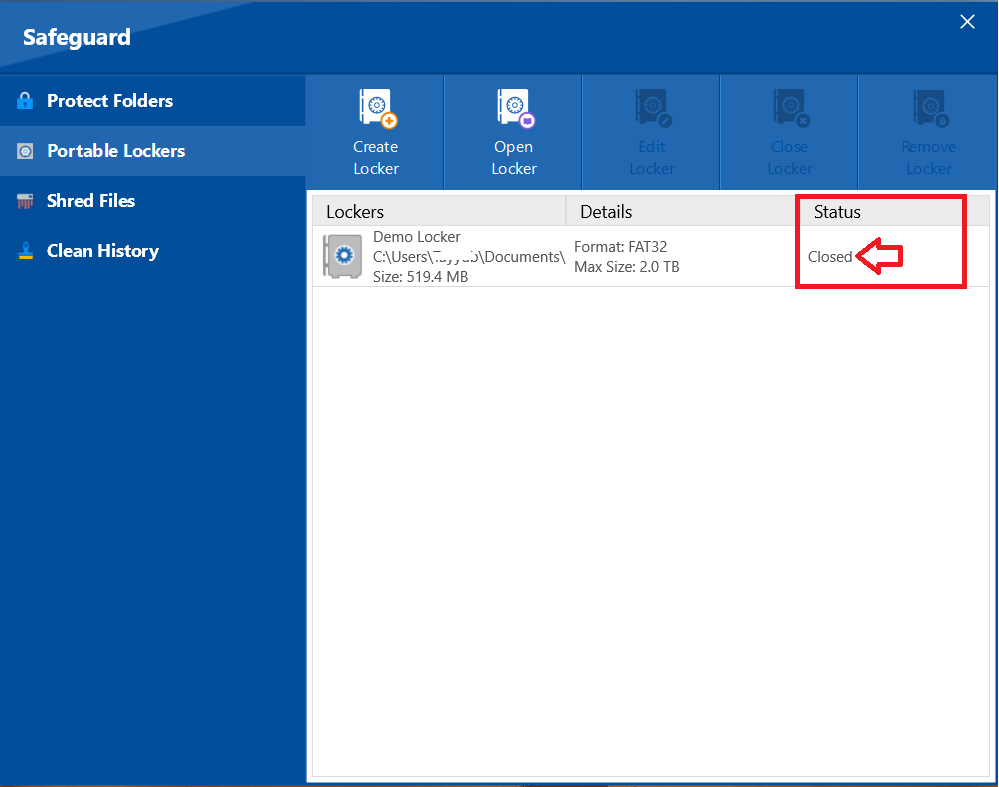
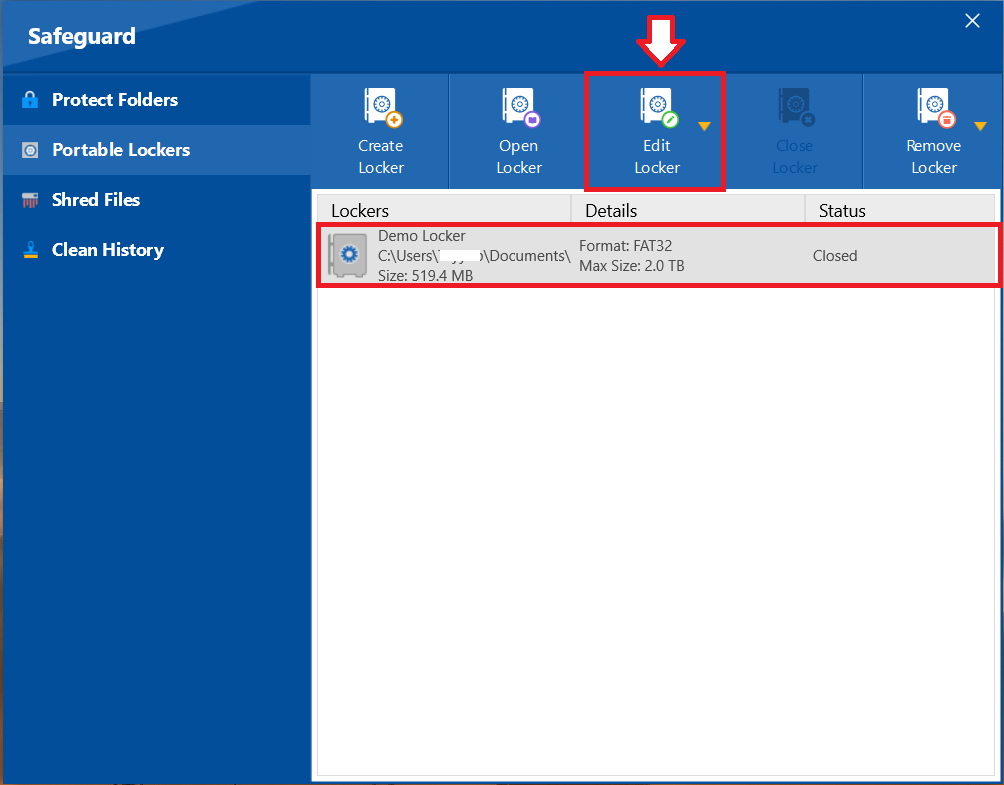
Step 1: Check Status of Your Portable Locker
- If your locker is closed, you will see its status as "Closed" as shown in screenshot. However, if it is not closed you can follow the below steps to close it.
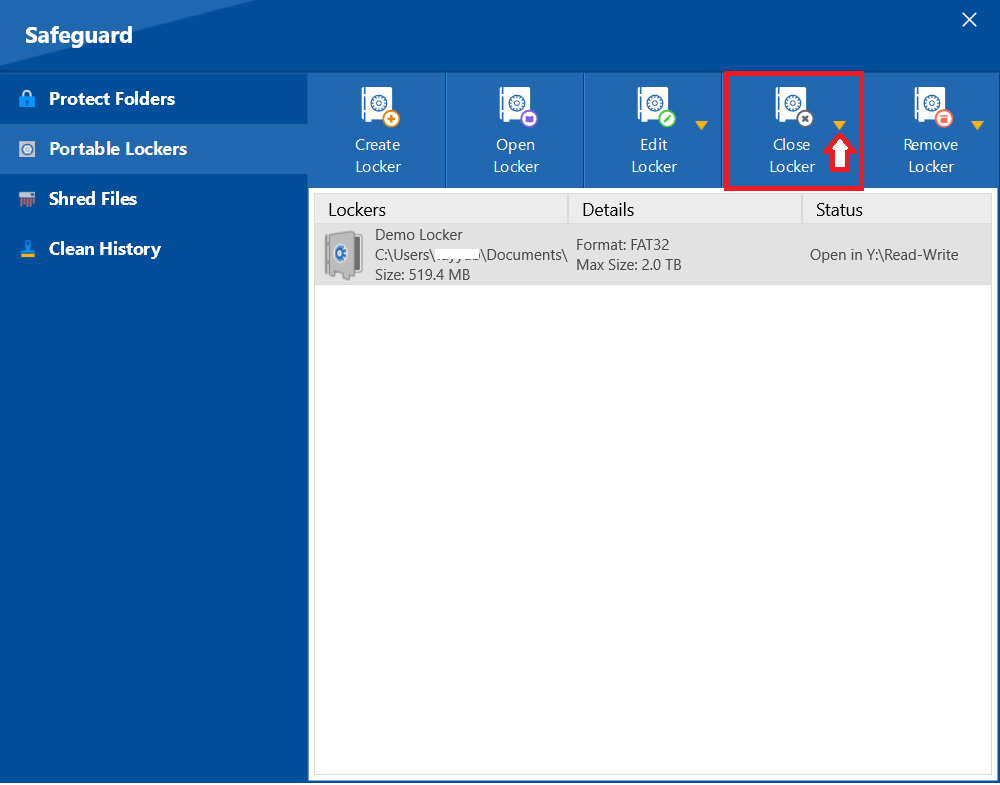
- Close Locker (This step is for users whose locker status is Opened). On the interface of Portable lockers, Click on close Locker.
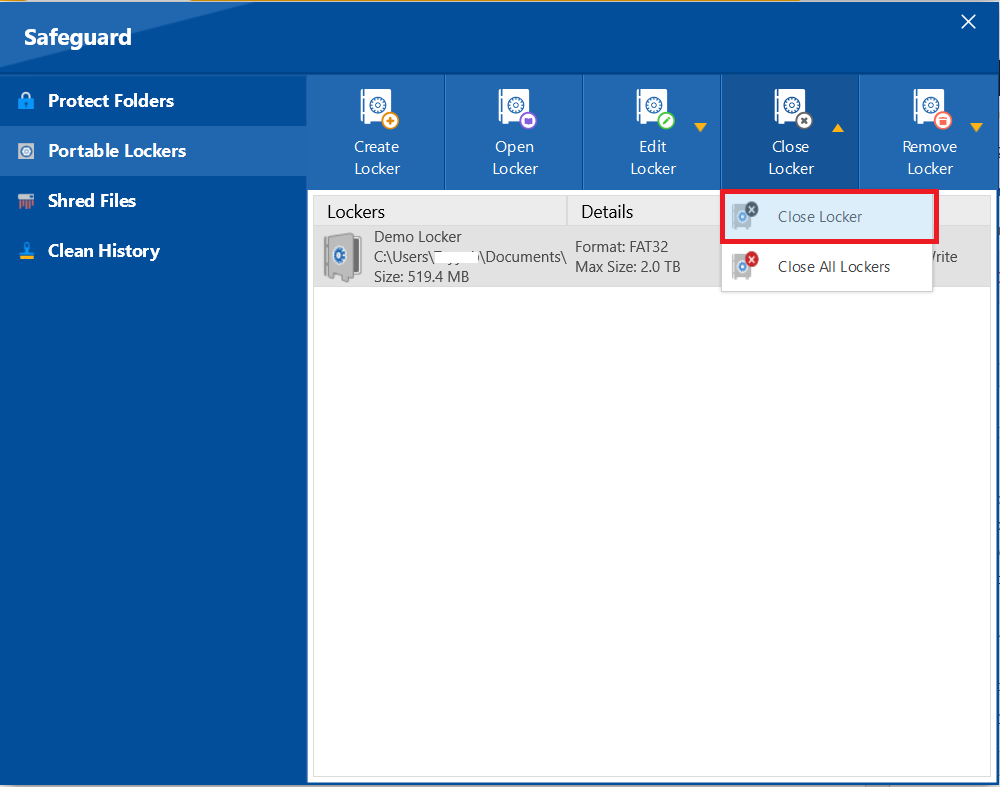
- Afterwards, A menu appears giving the options to close a single locker or multiple lockers (If available). Select your desired option to close the locker. In our case we have just one locker at this time so we will select a simple option "close locker".
- Now the locker has been closed as shown in screenshot.
Step 2: Copying Portable Locker to USB Drive
- Select your closed locker and click on "Edit Locker".
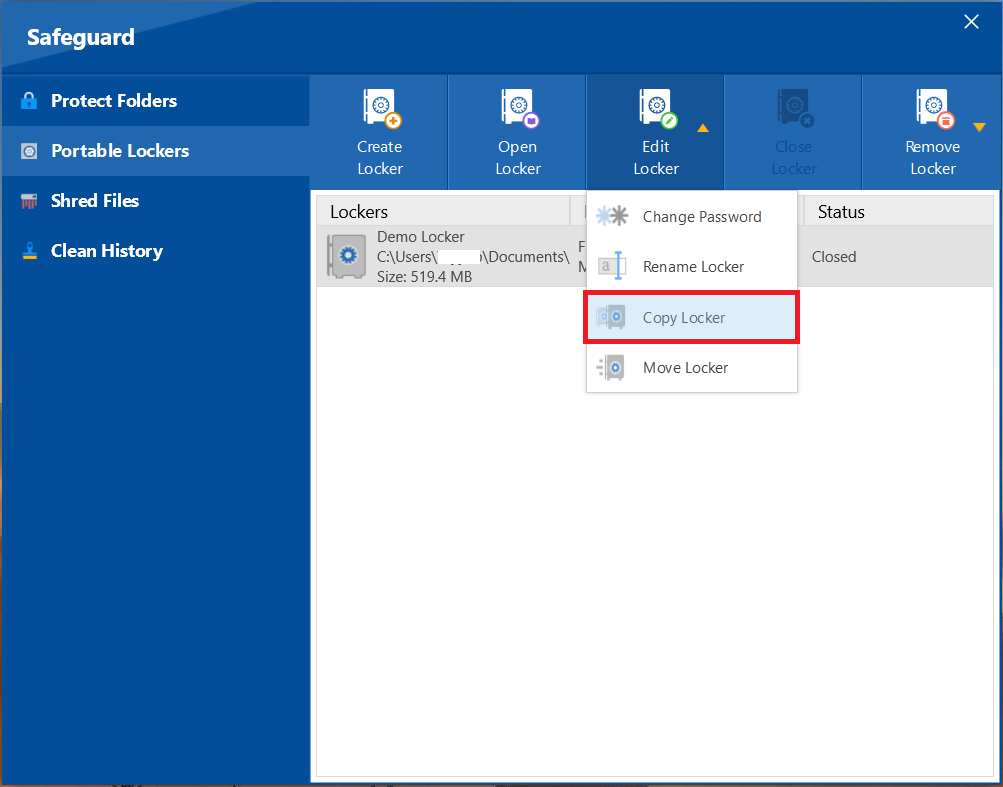
- Next, a menu will appear displaying no of actions you can perform. Select "Copy Locker".
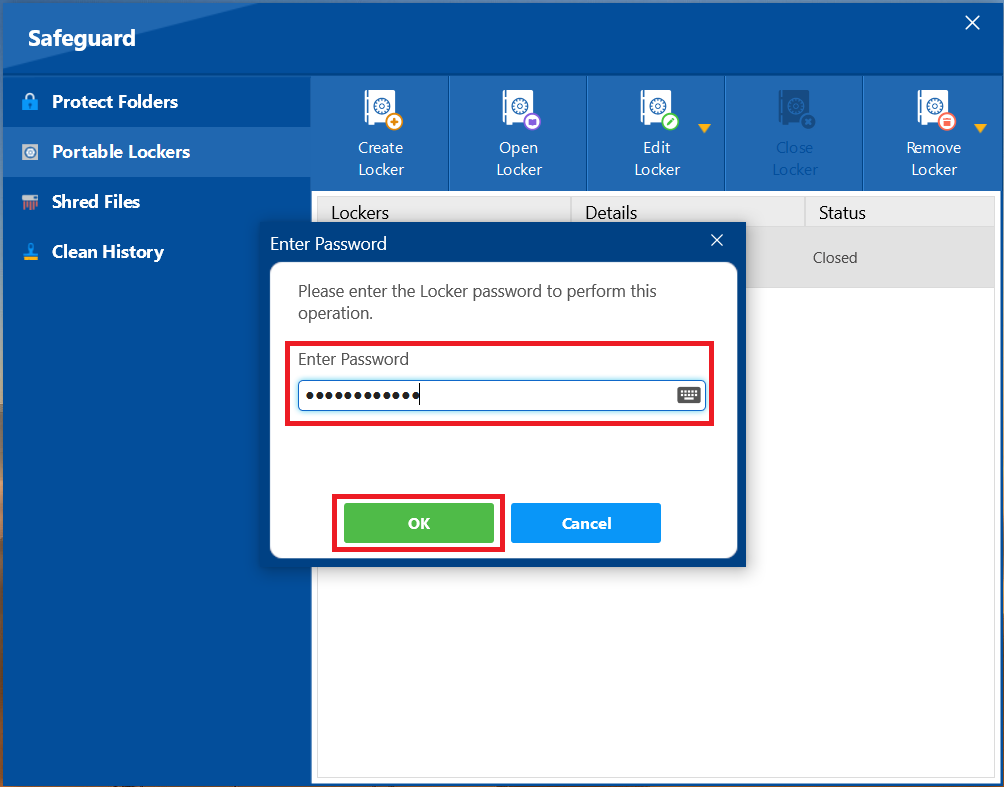
- A screen appears asks to enter your password which you have set while creating portable locker. Enter your password to proceed.
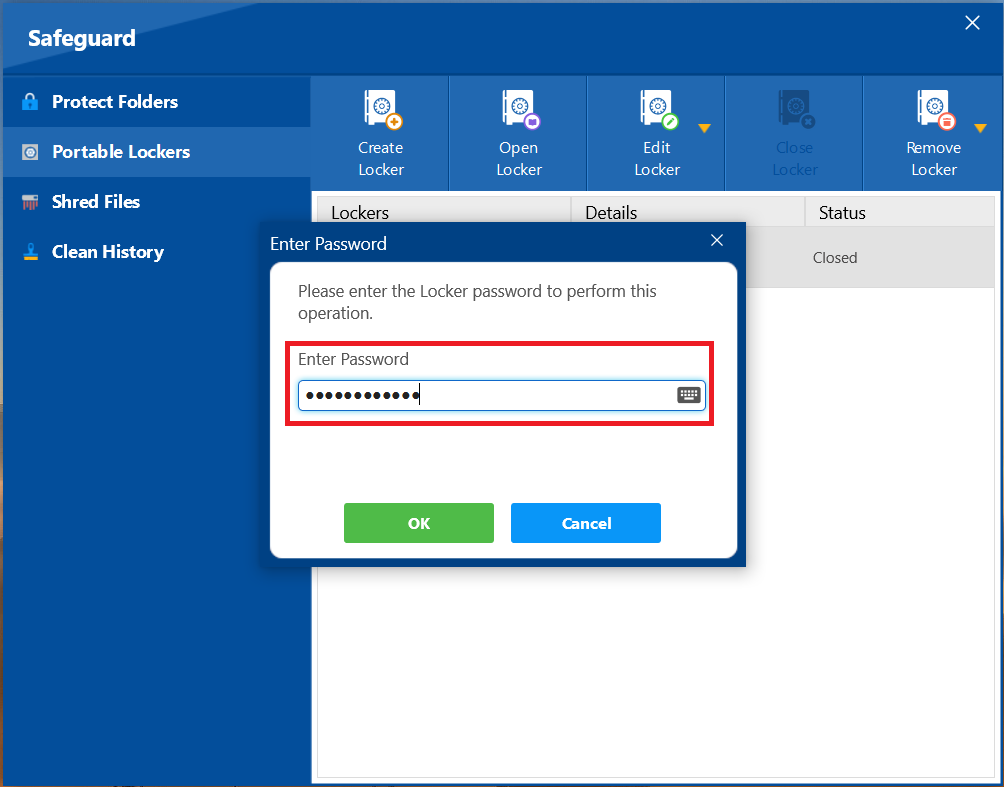
- After entering passowrd. Click on Open.
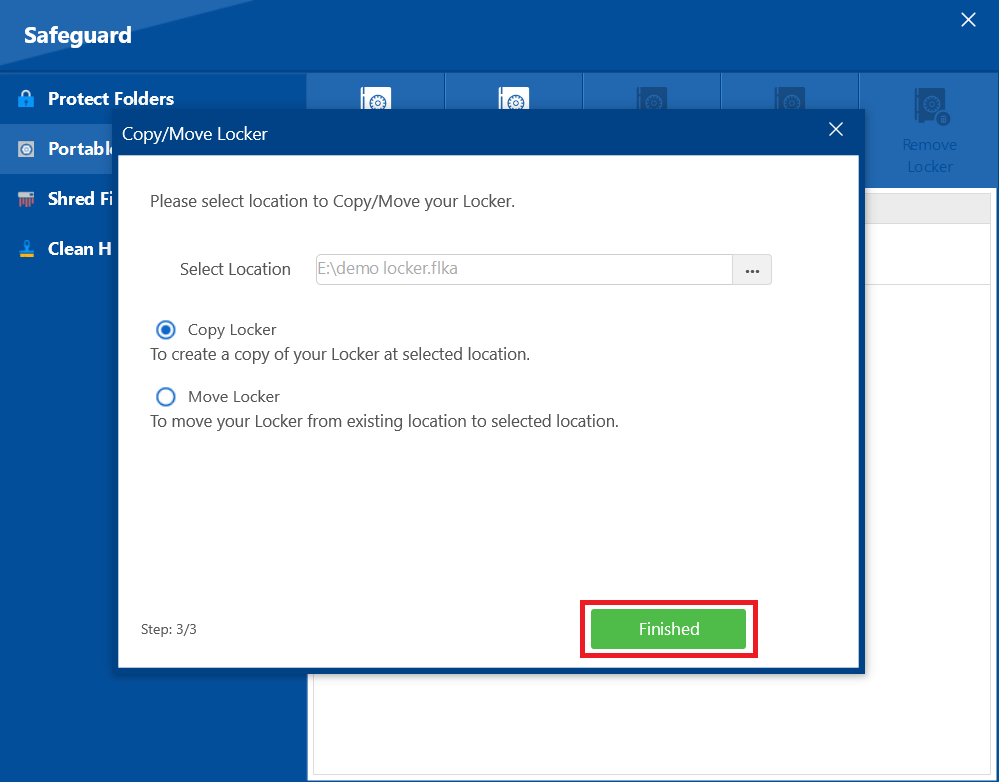
- A new popup screen named as Copy / Move Locker appears as shown in screenshot.
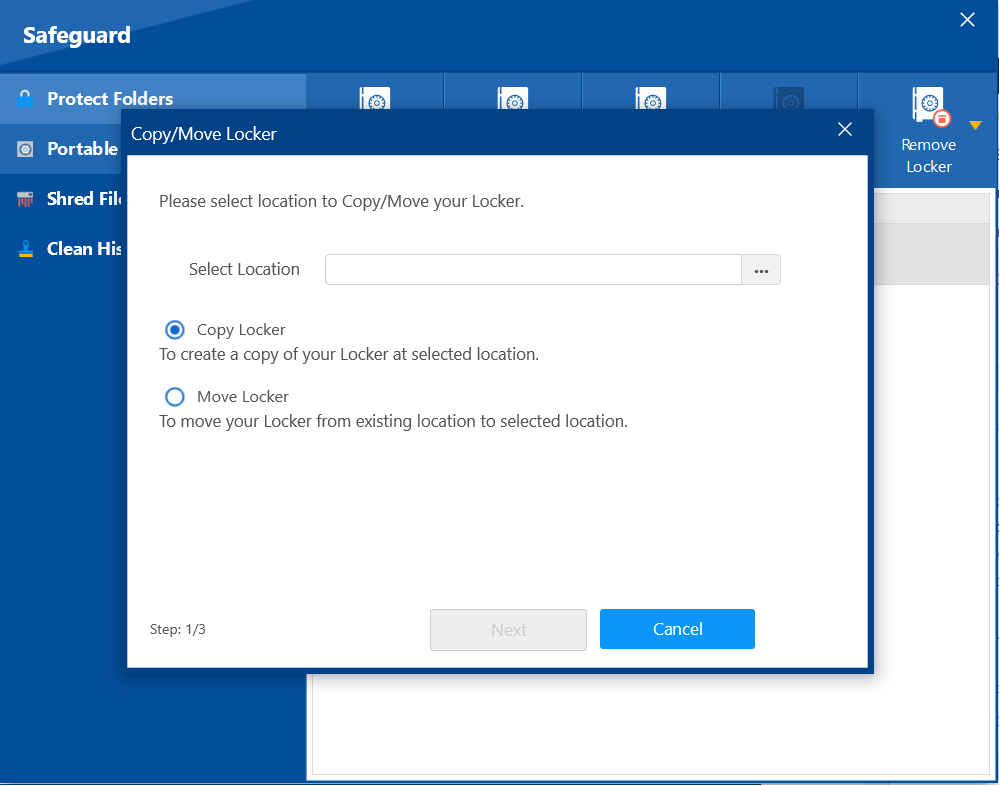
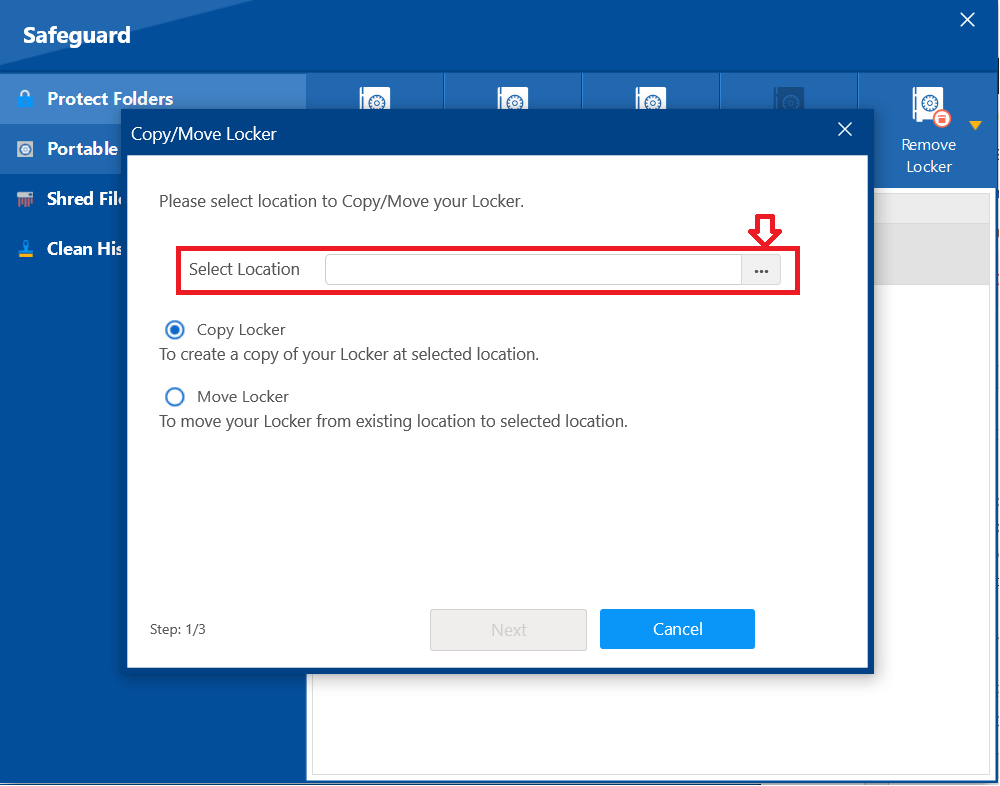
- Select three dots to browse / select location.
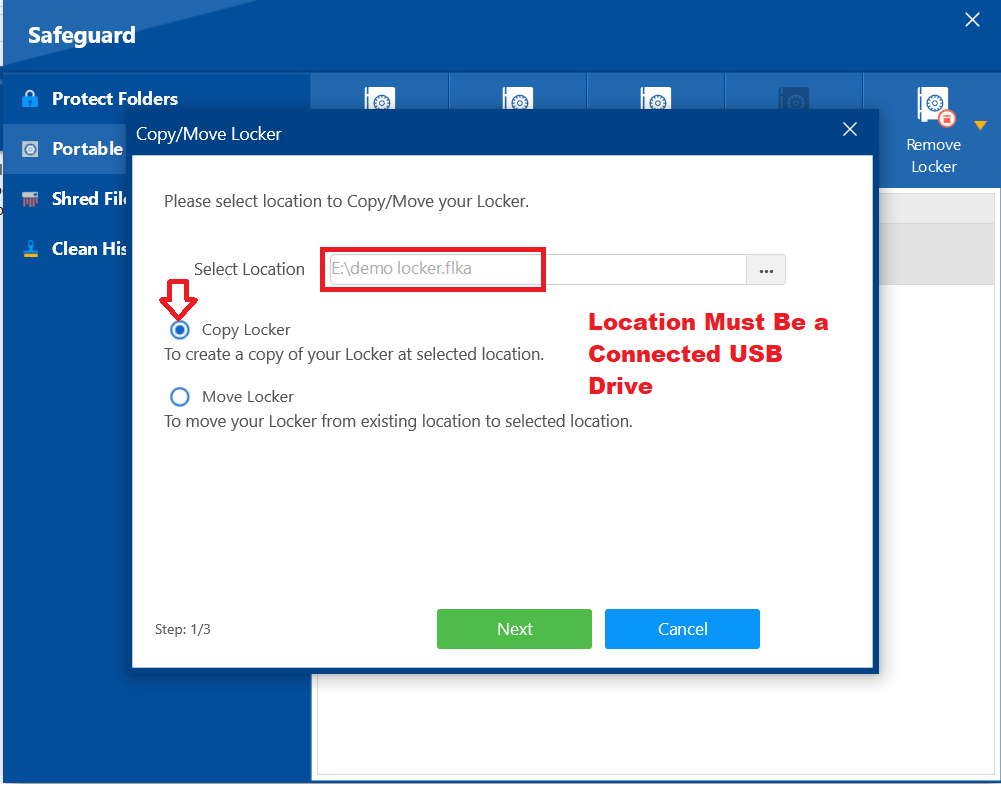
- Select USB as desired location to copy your portable locker in USB. Also, Make sure to Click on Radio button "Copy Locker".
- Click on Next.
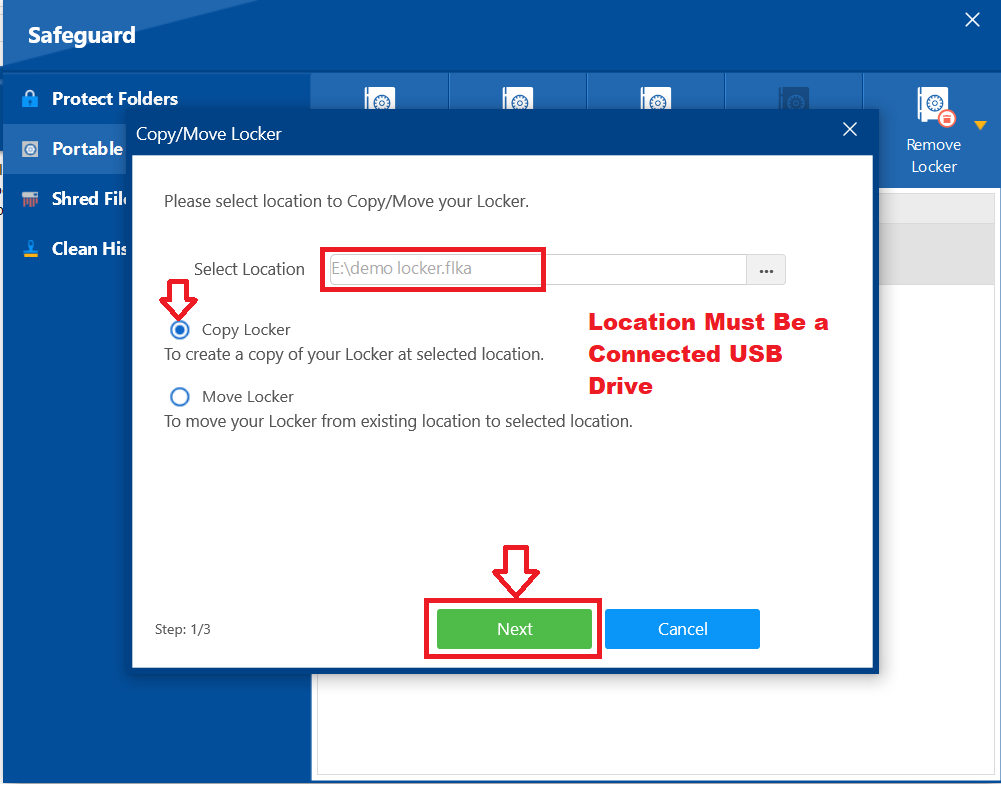
Note:- Clicking on Next will start copying your portable Locker to USB and it may takes few minutes.
- After sucessfull completion of copying process you will have a screen that displays green button "Finished". Click on "Finish" to complete the process.
Step 3: Verify Your Portable Locker in USB Drive
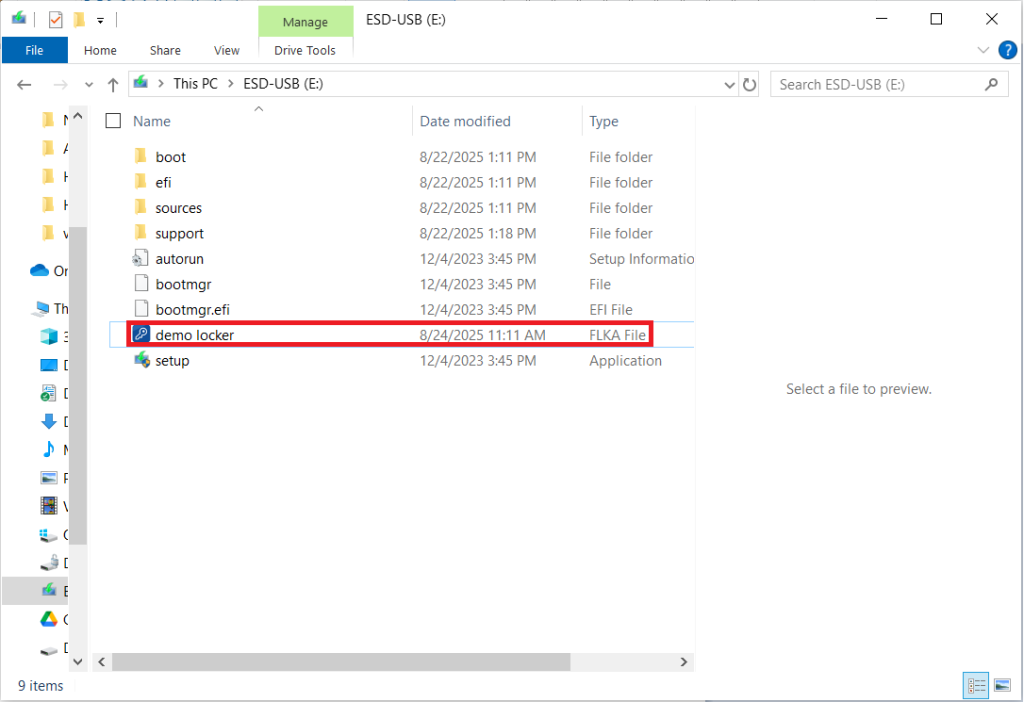
- Go to Your connecnted USB Drive.
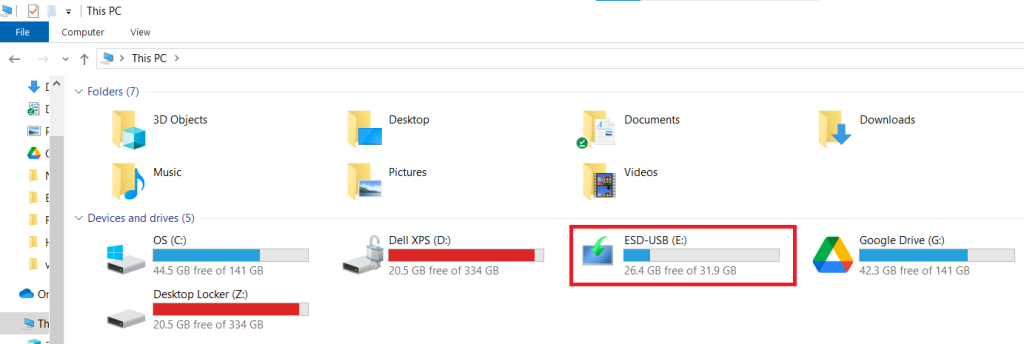
- Check for your portable locker named as "Your portable Locker Name.flka". In our case Demo Locker has been sucessfully copied to USB as show in screenshot.
With the ability to securely transfer your portable lockers, you have truly untethered your sensitive data from a single location. This powerful feature ensures that your files remain encrypted and protected, in a USB drive. You can now confidently carry or share your confidential information, secure in the knowledge that your privacy is maintained wherever your files travel.