
Folder Lock, developed by Newsoftwares.net, provides a powerful way to secure large amounts of data at once by password-protecting an entire hard drive. This feature makes the selected drive completely inaccessible and invisible, ensuring that all confidential files stored on it are safe from unauthorized access.
Steps to Password Protect a Hard Drive in Folder Lock
Follow these easy steps to hide and protect your Hard Drives
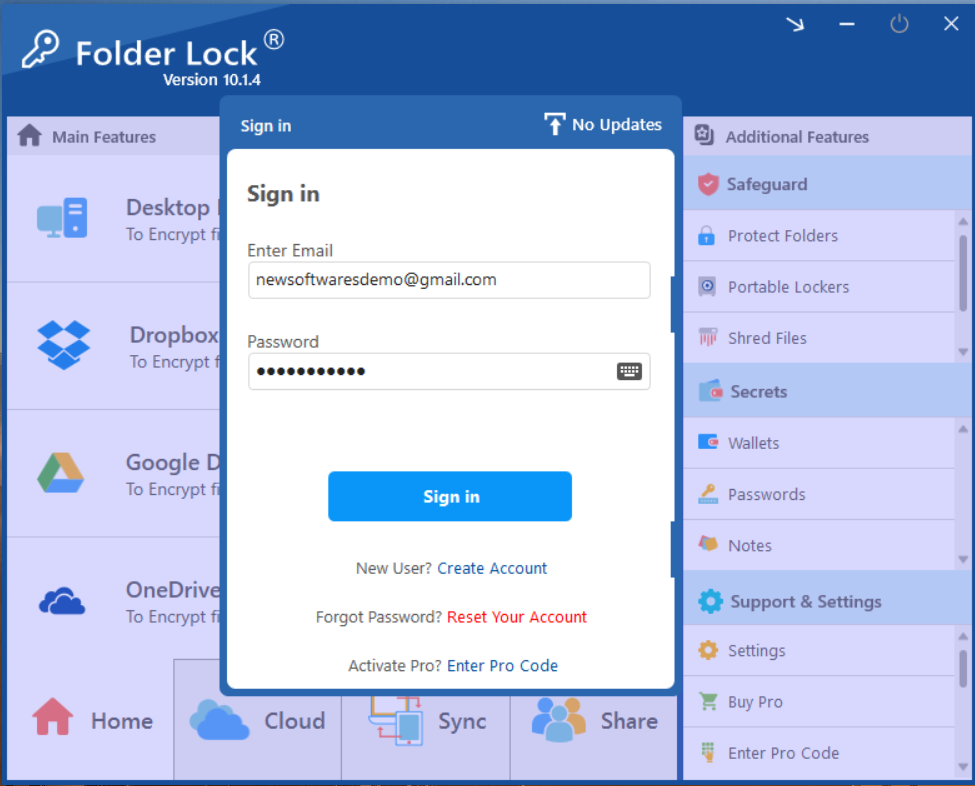
Step 1: Open Folder Lock
- Launch the Folder Lock application on your computer and log in with your email and password.
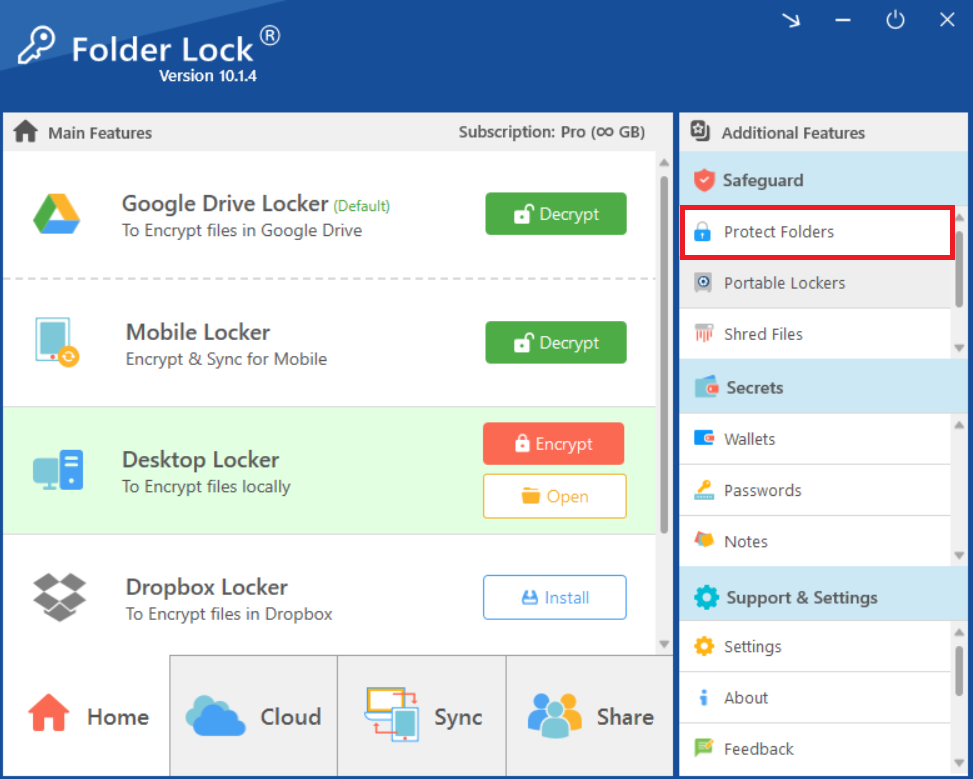
Step 2: Select "Protect Folders Under Safeguard Tab"
- Within the Safeguard section, click on the "Protect Folders" tab. This will open the interface for hiding your items.
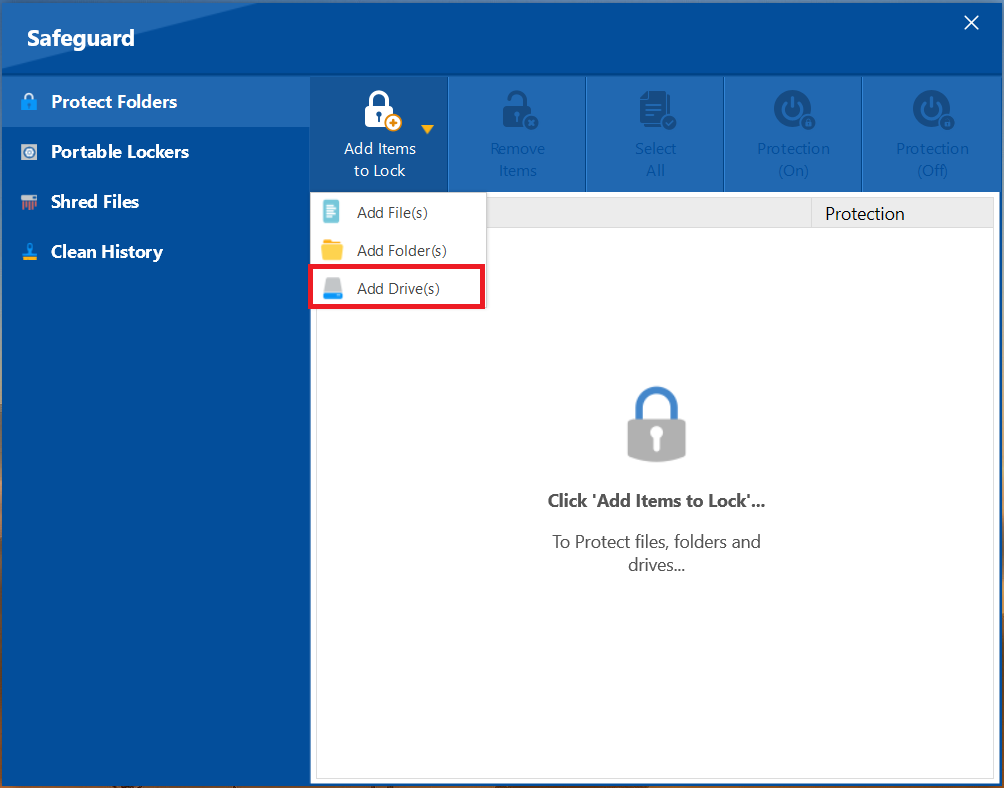
Step 3: Add Items to Lock
- In the "Protect Folders" view, click on the "Add Items to Lock" button at the top of the screen.
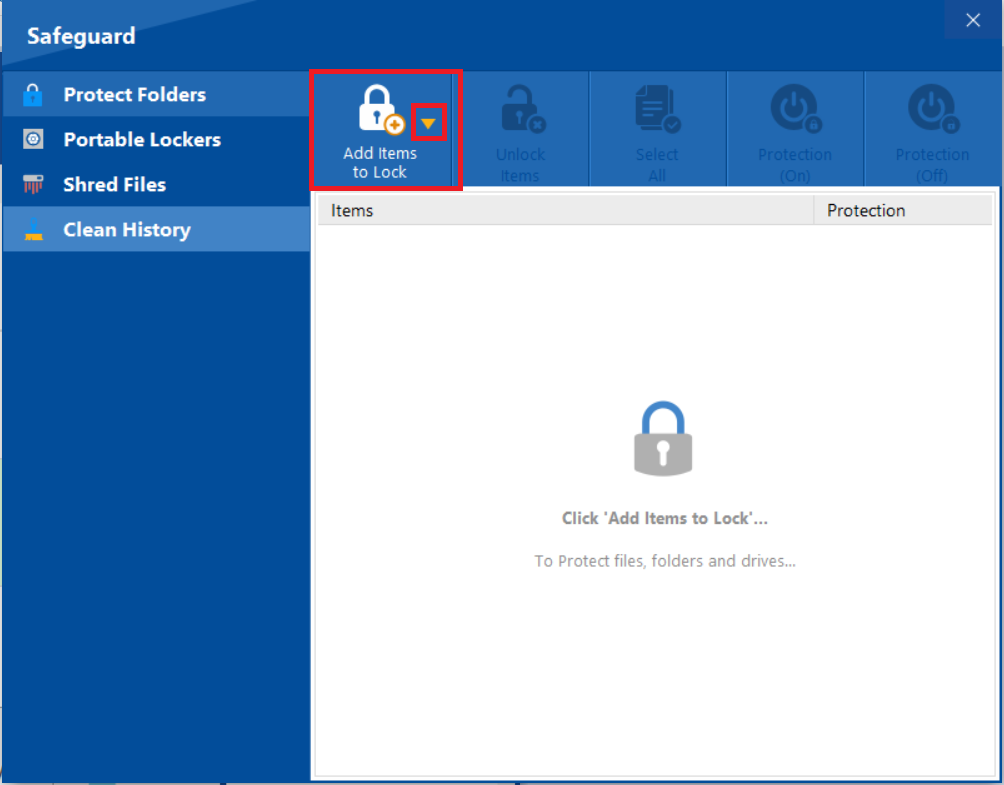
- A dropdown menu will appear. You can choose to add individual "File(s)," "Folder(s)," or entire "Drive(s)" for protection.
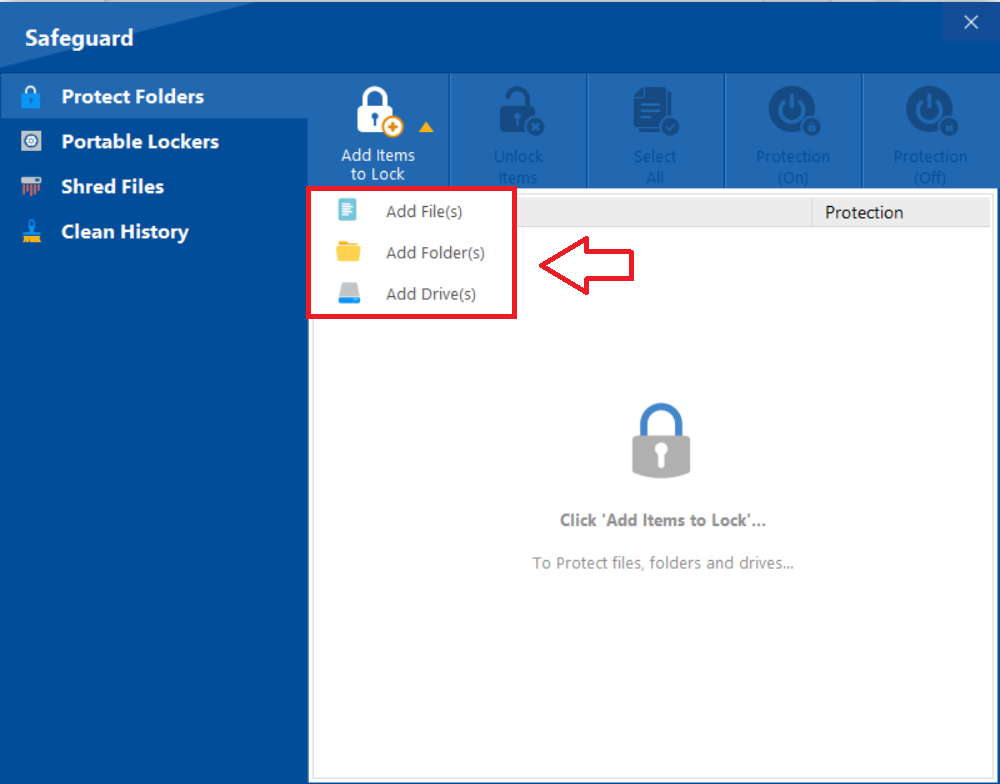
- Select "Add Drive(s)" from the list.
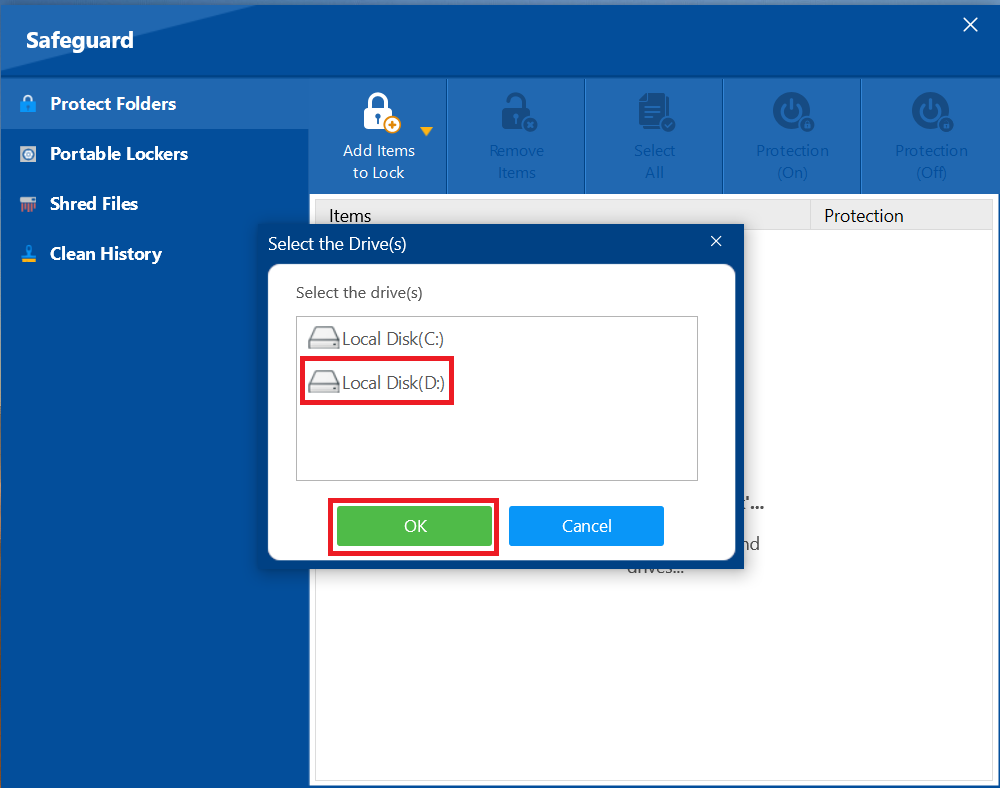
Step 4: Select Your Hard Drive
- A window will pop up showing a list of all your hard drives. Select the hard drive you wish to protect by clicking on it.

Note: Your drive containing the operating system (usually the C:\ drive) cannot be selected for protection.
- Click Ok to start protecting your selected drives.
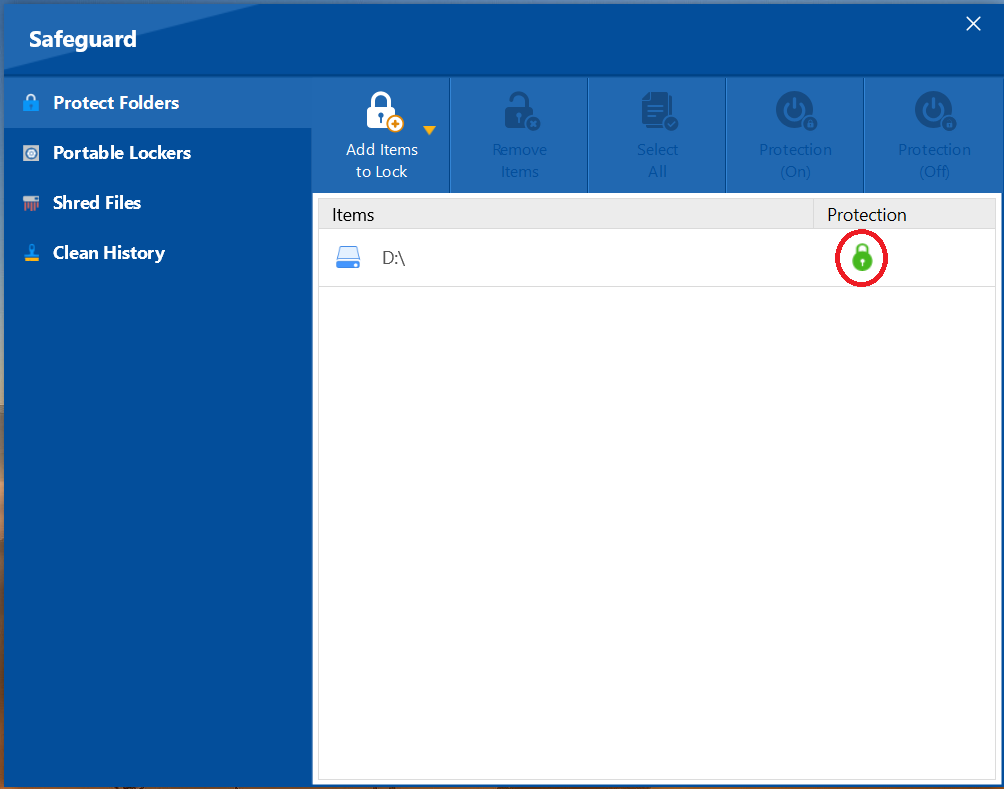
Step 5: Verify the Drive is Protected
- Once you have added the drive, it will appear in the "Protect Folders" list.
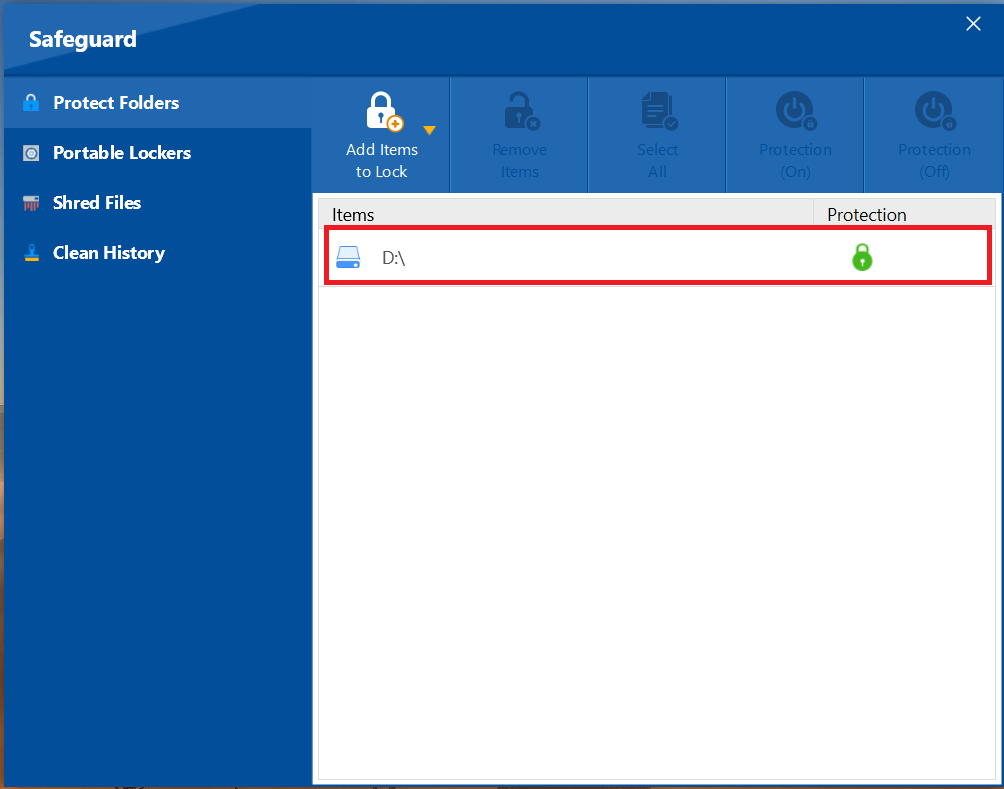
- The green lock icon indicates that the drive has been successfully protected.
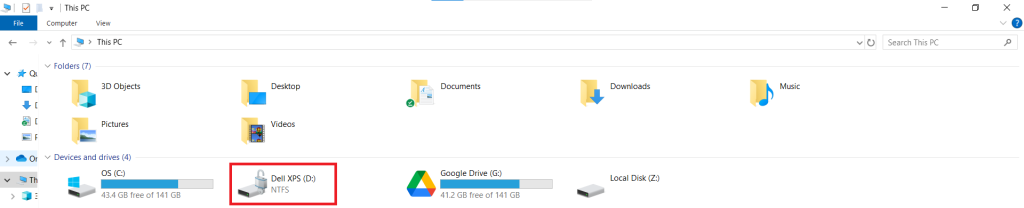
Step 6: Check Windows File Explorer
-
Your protected hard drive will now be hidden from Windows File Explorer, making its contents completely inaccessible without first opening Folder Lock and unprotecting it.
With the ability to secure an entire hard drive, you have implemented a robust and comprehensive defense for a vast amount of data. This powerful feature ensures that your sensitive files and folders are not only hidden but also protected by an invisible layer of security. By following these straightforward steps, you can gain the confidence and peace of mind that all your information is safe from unauthorized access.