
Folder Lock's "Protect Folders" feature securely hides your sensitive data, making it invisible to others. When you need to access your files again, the process of unprotecting them is quick and straightforward. This guide will walk you through the easy steps to make your protected files, folders, and drives visible once more.
Steps to Unprotect Your Files, Folders, and Drives with Folder Lock
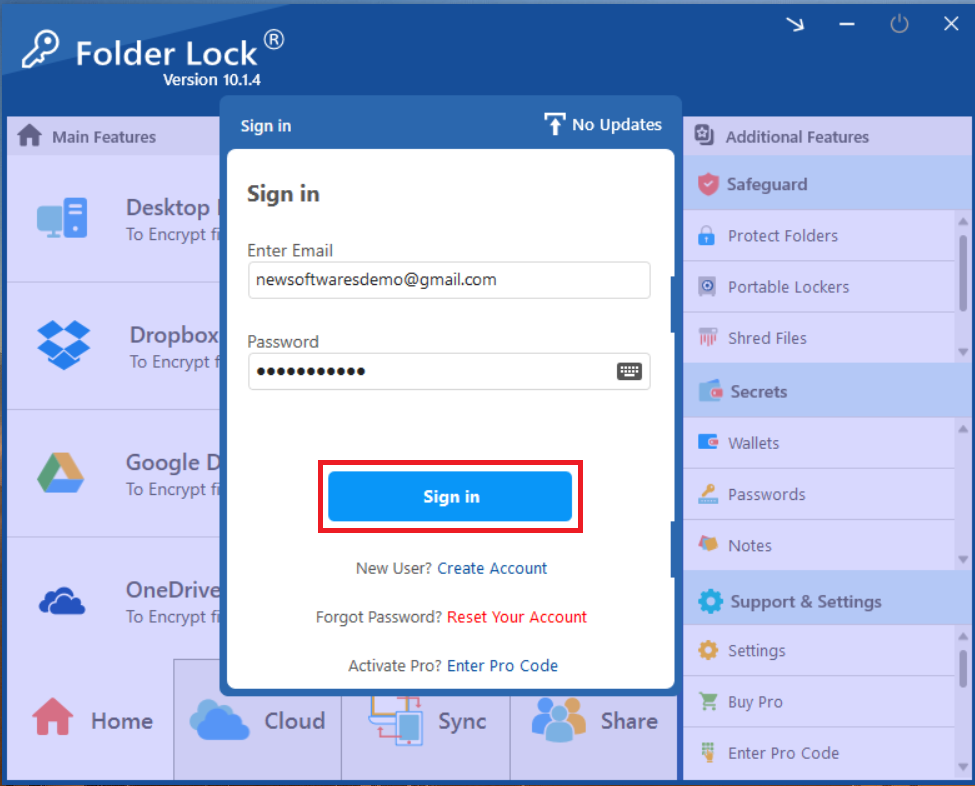
Step 1: Open Folder Lock and Log In
- Launch the Folder Lock application on your computer.
- Log in to your account with your email and password.
Step 2: Navigate to the "Safeguard" Section
- After logging in, look for the "Safeguard" option on the main screen of Folder Lock. It is typically in the right-hand sidebar.
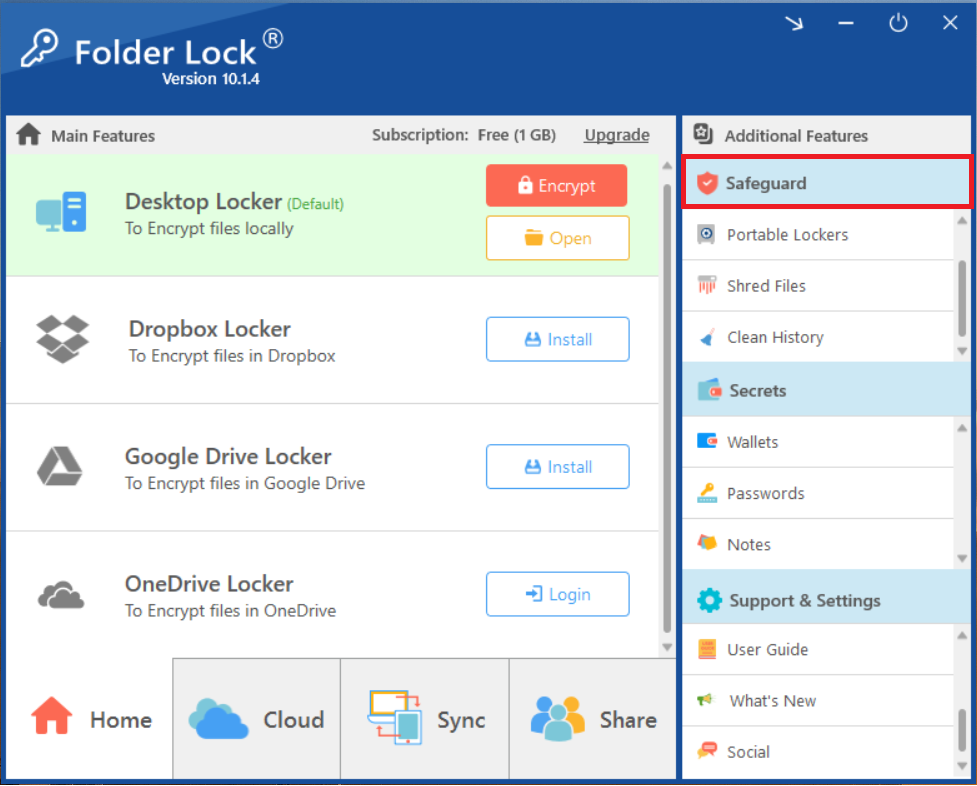
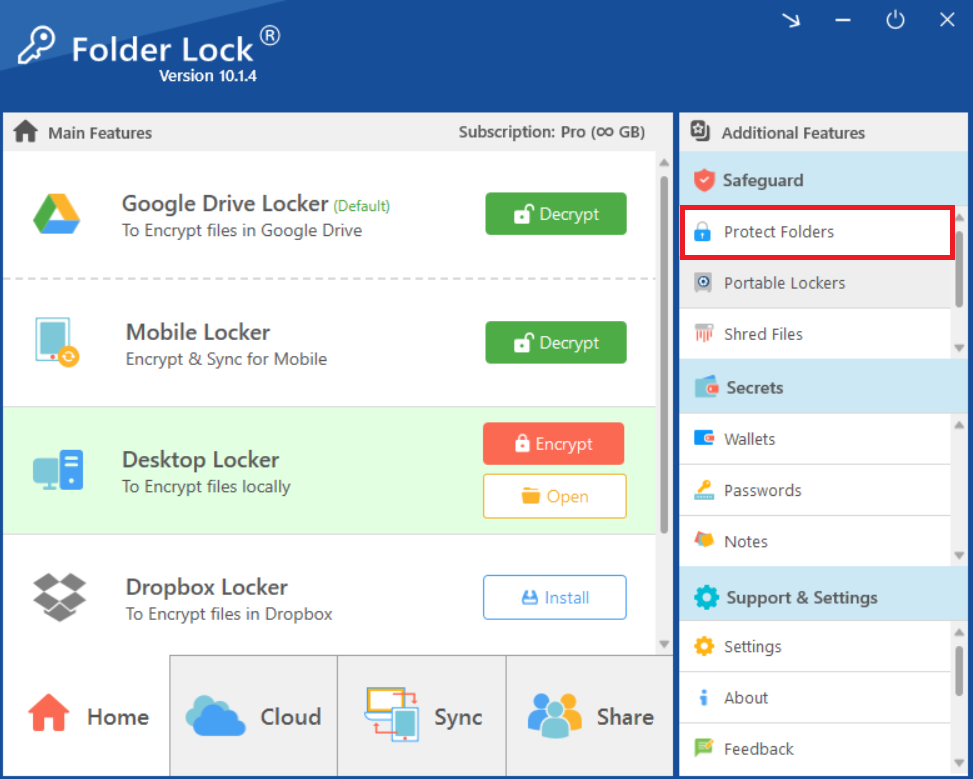
Step 3: Click "Protect Folders"
- Within the "Safeguard" section, click on the "Protect Folders" tab to see your list of protected items.
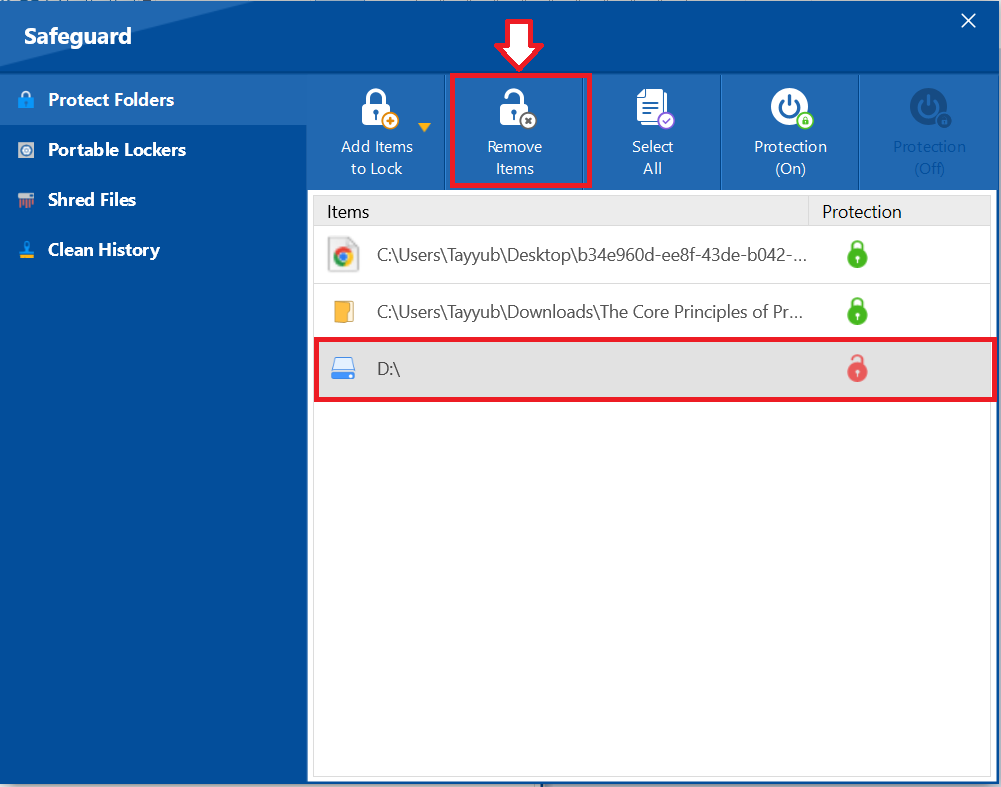
Step 4: Select the Item to Unprotect
- Here you can see a list of your protected item (Files / Folders / Drives).
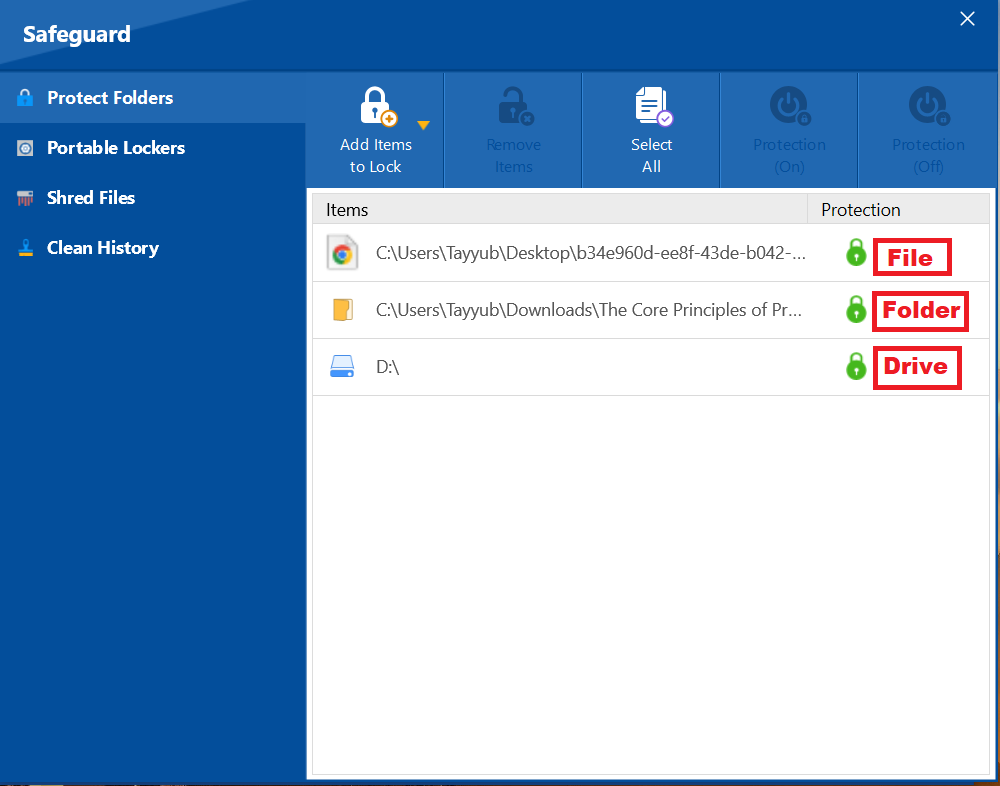
- Click on the specific file, folder, or drive you want to unprotect. This will select the item. Consider an example of unprotecting a Drive as shown in below screenshot
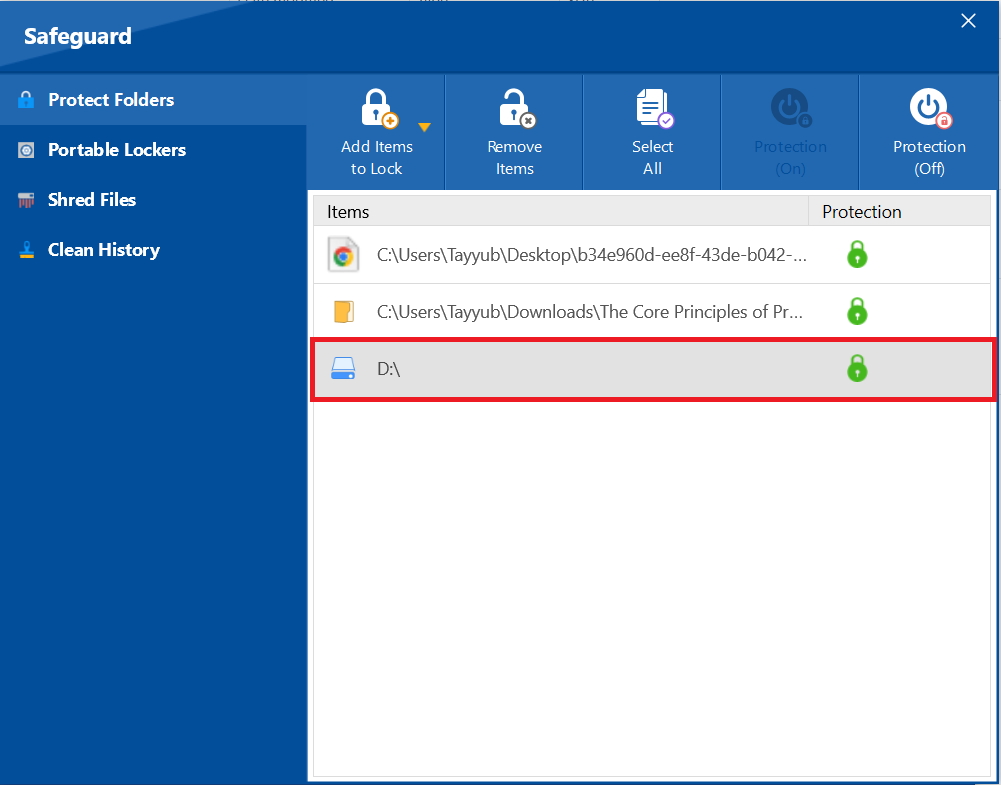
Step 5: Click "Protection Button"
- With the item selected, toggle the "Protection Button" to OFF. This button is located at the top-right of the screen.
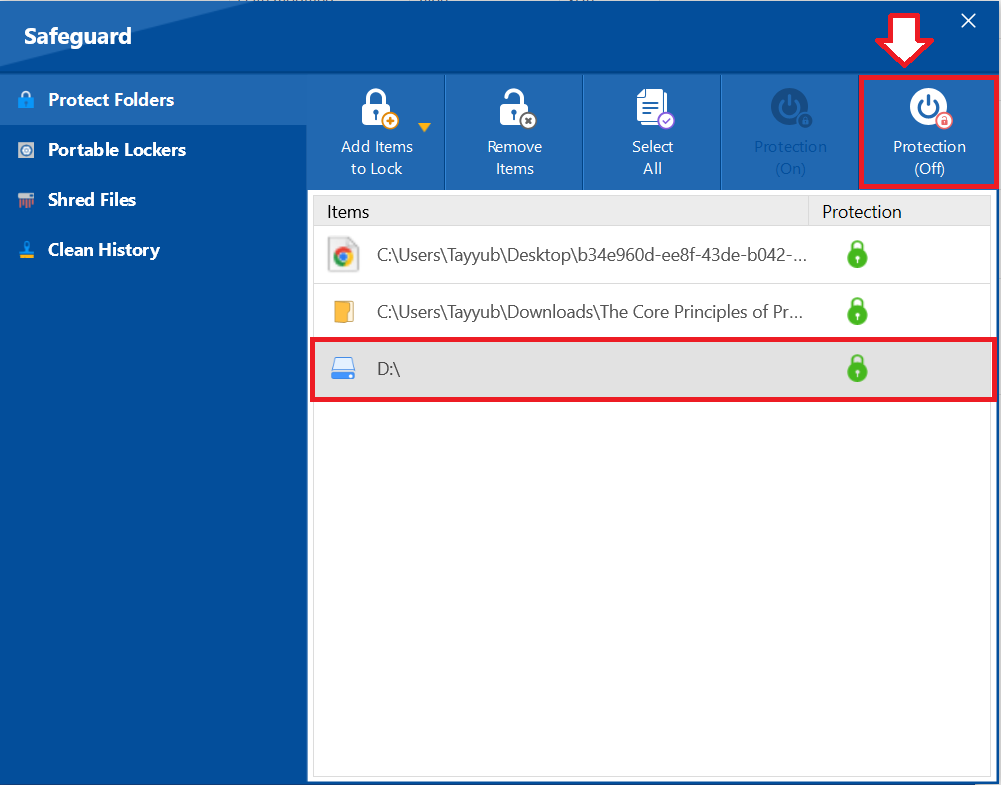
- This action will immediately remove the protection, and your item will become visible again in Windows Explorer.
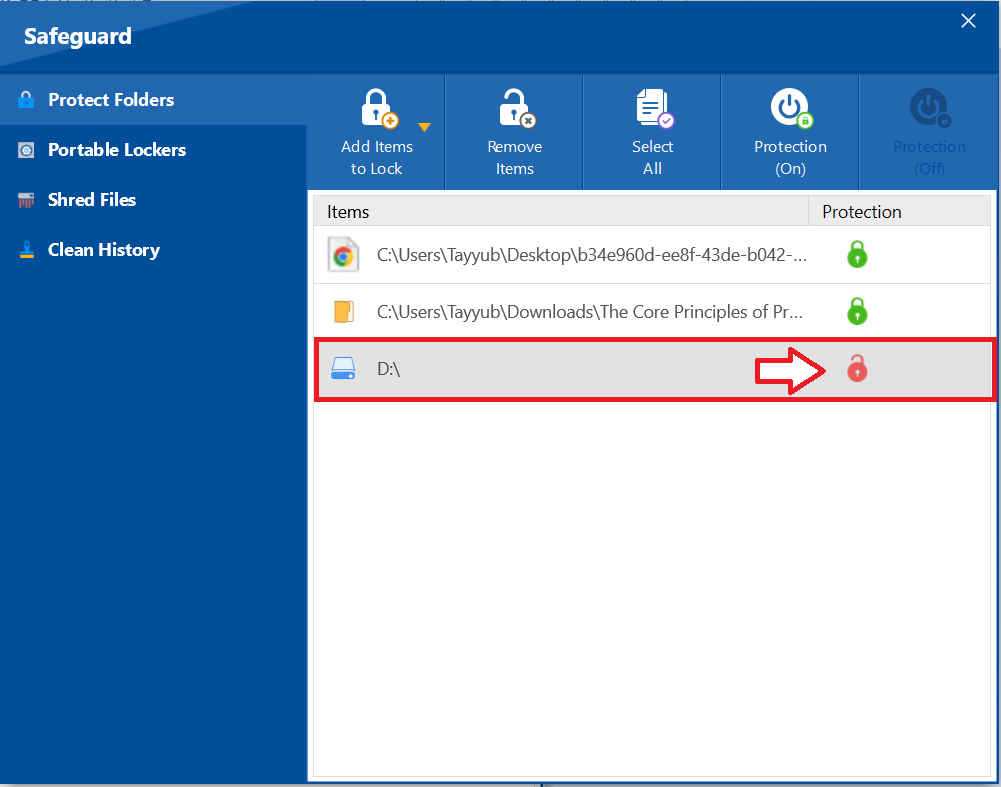
- The opened lock shows that your drive is now unprotected.
- To permanently unprotect file, folder, or drive, select your desired one and then click on "Remove Item" button
With the ability to unprotect your files and folders in just a few clicks, Folder Lock gives you complete command over your data's visibility. This effortless process ensures that while your confidential information remains hidden when needed, it is always readily accessible to you. You can seamlessly integrate this toggle of security into your daily workflow, confident that your data is protected under your terms.