
Folder Lock, developed by NewSoftwares.net, provides a powerful "Shred Files" feature that goes beyond simple deletion. It permanently erases sensitive files, folders, or even wipes empty drive space, making data recovery virtually impossible and ensuring your confidential information remains truly private.
Steps to Shred Files, Folders, or Wipe Empty Drive Space with Folder Lock
Follow these easy steps to securely shred data using Folder Lock:
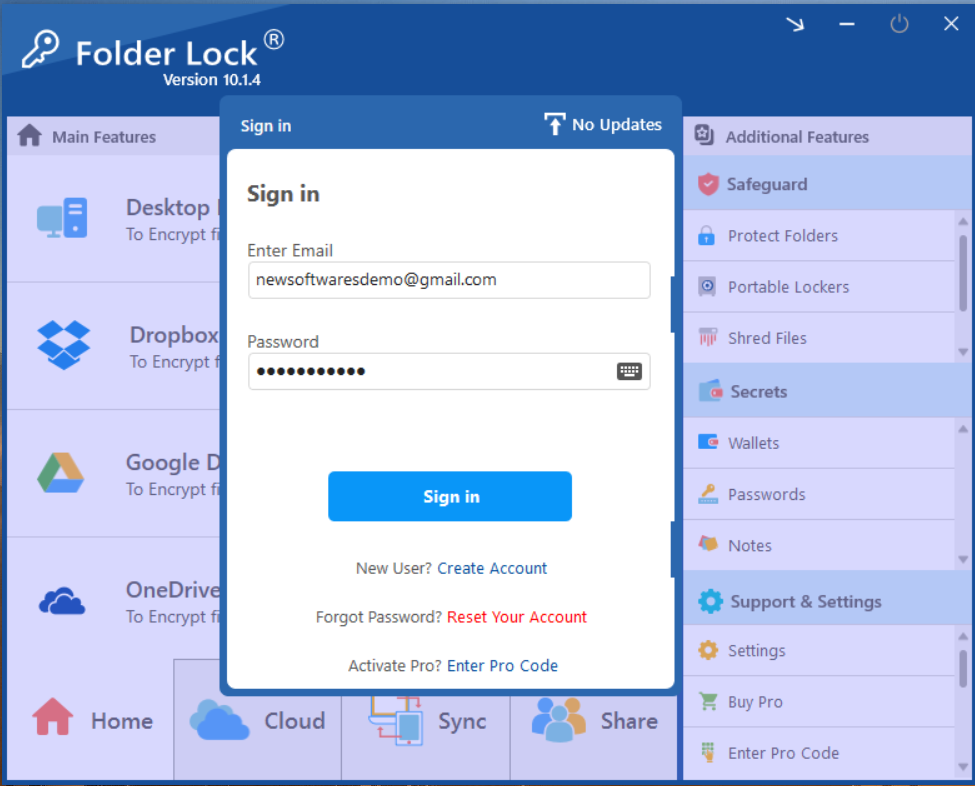
Step 1: Open Folder Lock and Log In
- Launch the Folder Lock application on your computer.
- Log in to your account with your credentials.
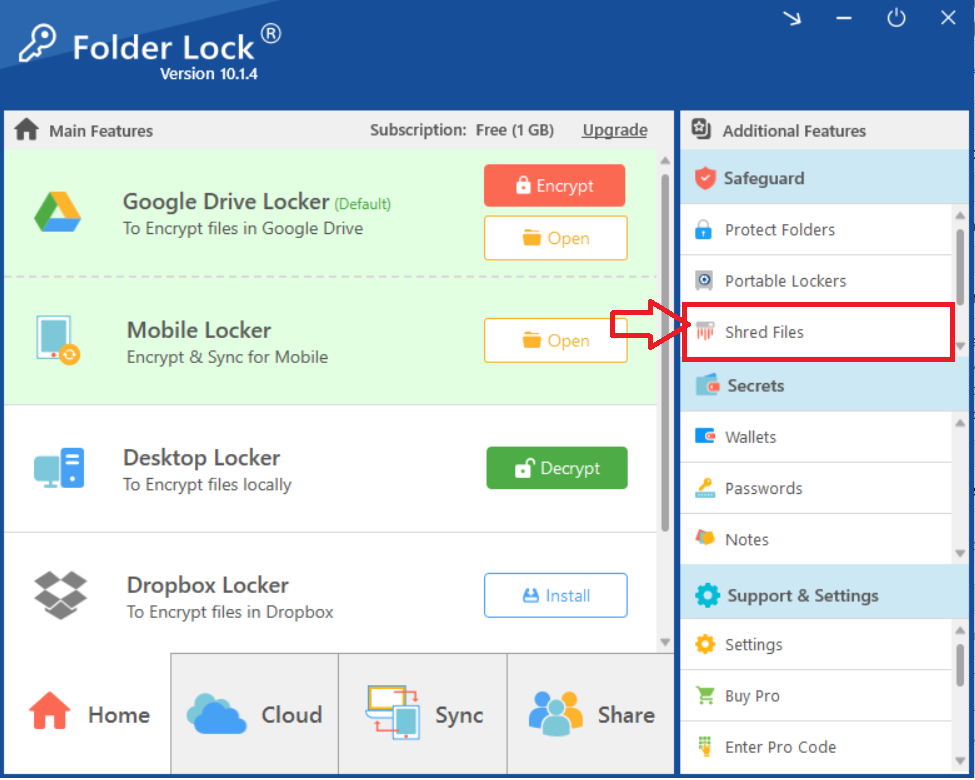
Step 2: Navigate to "Shred Files" within "Safeguard"
After logging in, locate the "Safeguard" option on the right-hand sidebar of the main Folder Lock screen. Click on "Safeguard" to expand its features, and then, within the "Safeguard" section, select "Shred Files" to open the data shredding utility.
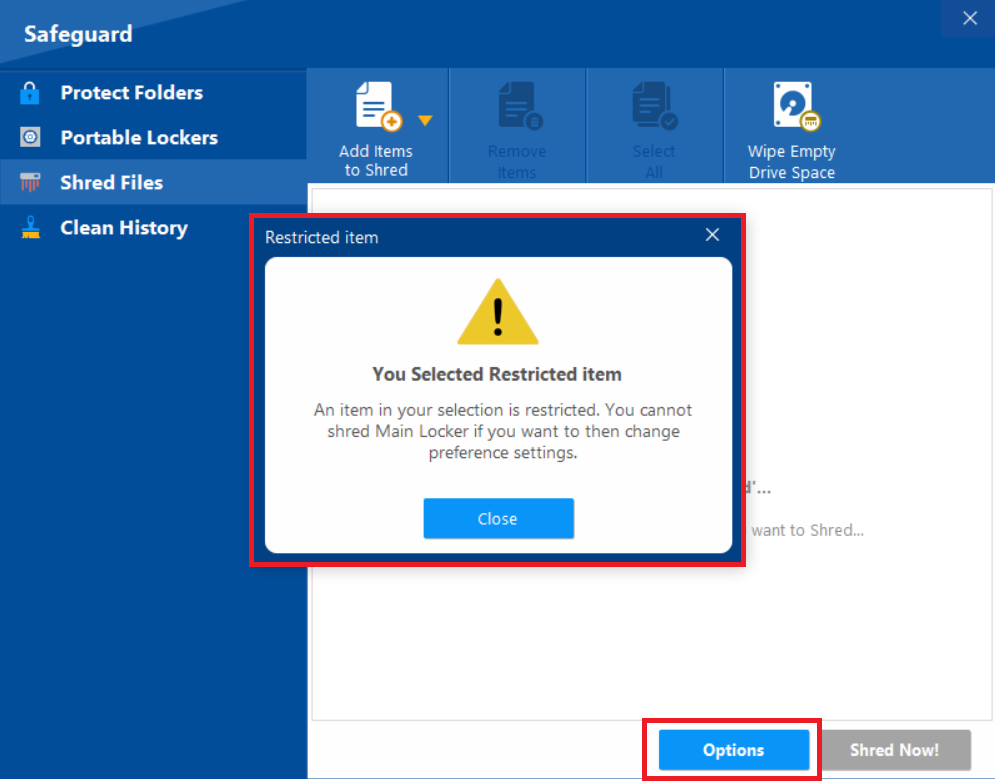
Step 3: Add Items to Shred
- A new window will appear labeled "Drag files here to Shred..." or showing options to add items.
- Click on "Add items to Shred" (or a similar button) to choose the specific files, folders, or even entire drives that you want to permanently delete. You can also drag and drop items directly into this window.

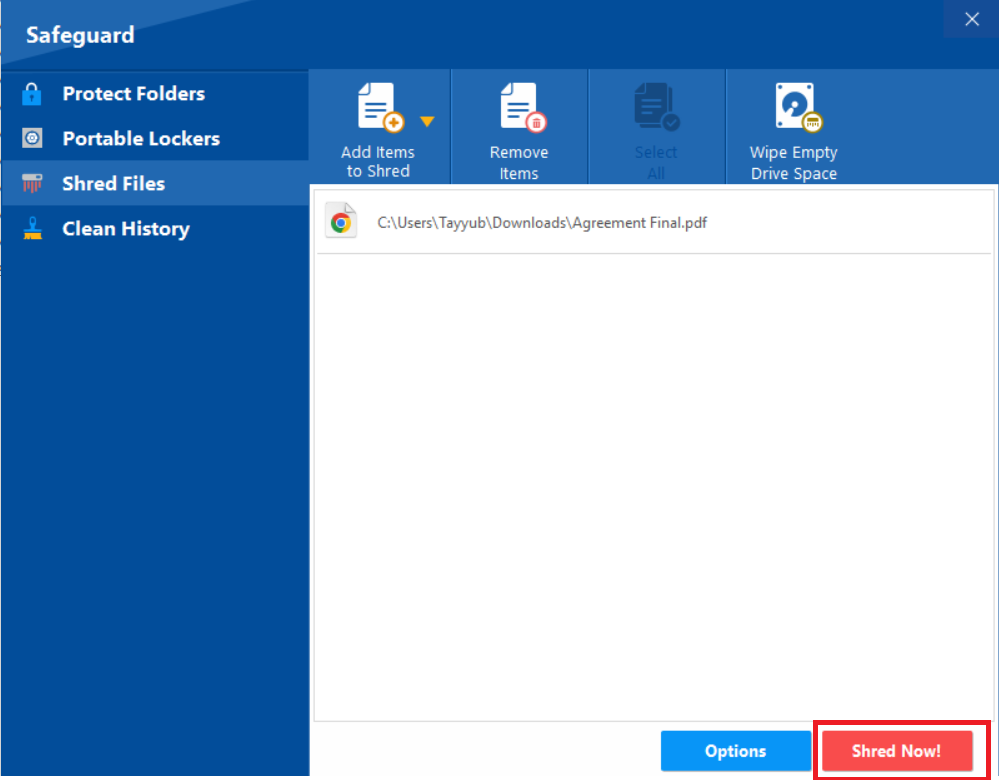
Step 4: Confirm the Shredding Process
- Once you've added the items, Folder Lock will likely present a warning message. This is a critical step as shredding is irreversible.
- Read the warning carefully. It will typically ask you to confirm if you want to "PERMANENTLY DELETE" the selected items. by showing a "Warning!" pop-up.
Note: You can also set your shredding preferences by clicking on options as shown in below screenshot
- Select the appropriate option to confirm and proceed with the shredding process (e.g., click "Shred" or "Yes, Delete!").
Step 5: Wait for Shredding to Complete
- Folder Lock will now begin the process of securely shredding your selected data. The time this takes will depend on the size and number of items.
- Once completed, you will receive a confirmation message, usually stating "Successfully Shredded!" (Refer to screenshot showing a "Successfully Shredded!" pop-up).
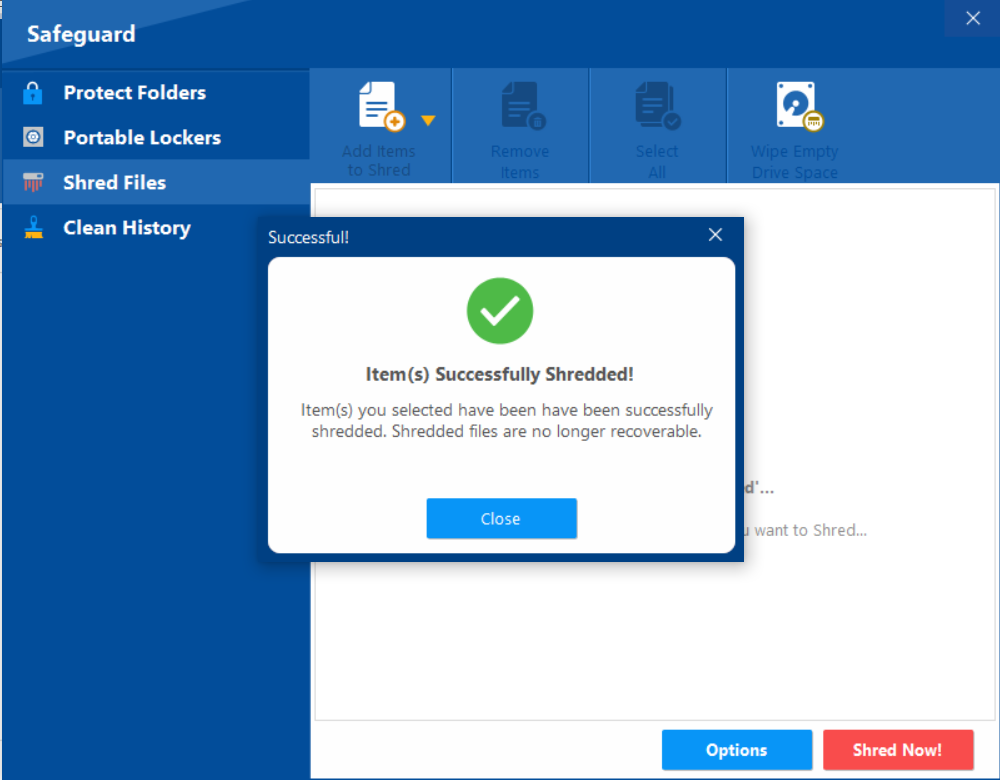
- Click "Close" or "OK" to finish.
By following these steps, you can confidently use Folder Lock's shredding feature to permanently erase sensitive information, ensuring your privacy is fully protected and data is beyond recovery.