
Folder Lock, by NewSoftwares.net, allows you to link multiple devices to a single account for seamless synchronization of your encrypted files. This guide will show you how to easily manage and remove devices from your account, ensuring you stay within your subscription limits and maintain control over your connected machines.
Steps to Manage Linked Devices in Folder Lock
Follow these simple steps to manage your linked devices:
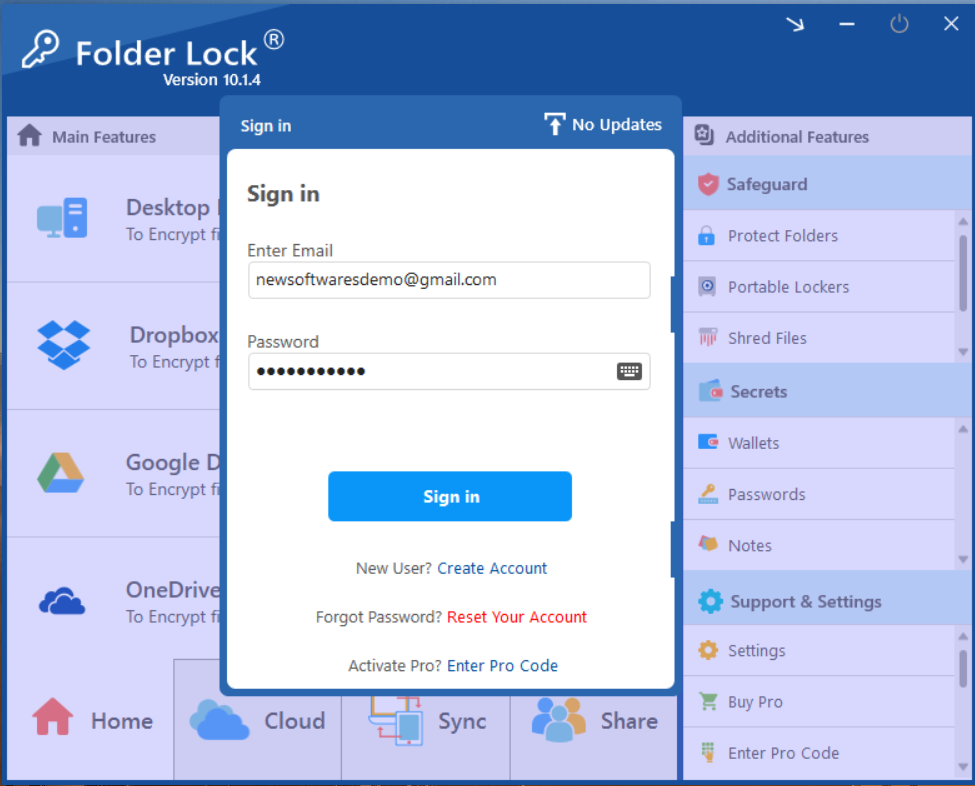
Step 1: Open Folder Lock and Log In
- Launch the Folder Lock application and sign in to your account using your email and password.
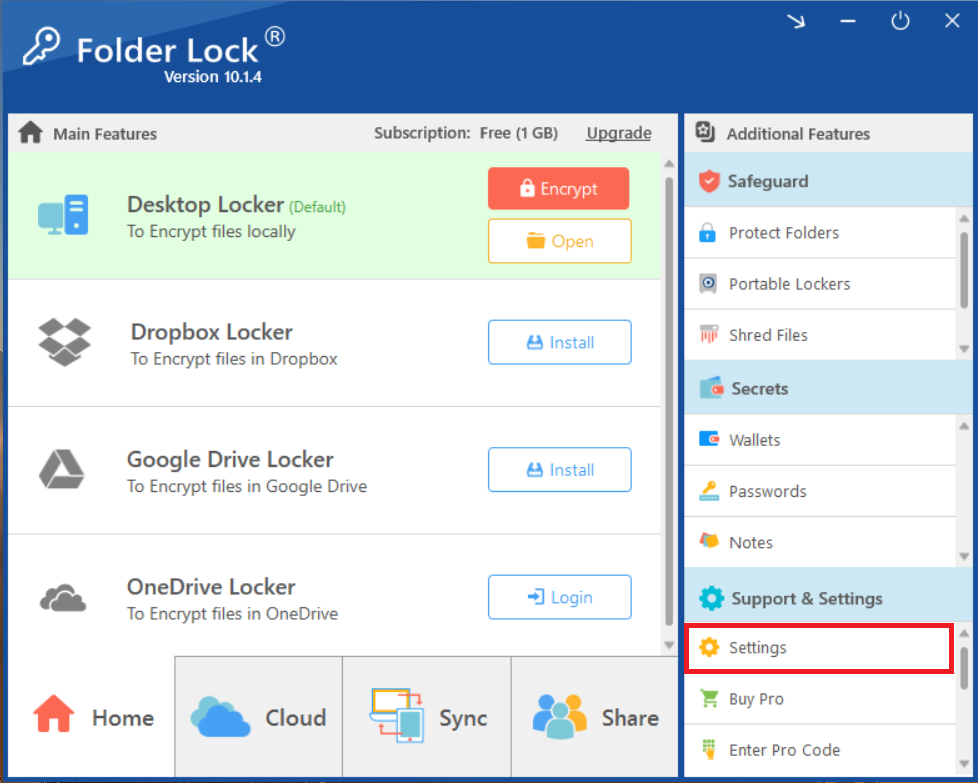
Step 2: Navigate to "Settings"
- On the Folder Lock home screen, look for the "Support & Settings" section in the bottom-right corner. Click on "Settings" to open the configuration window.
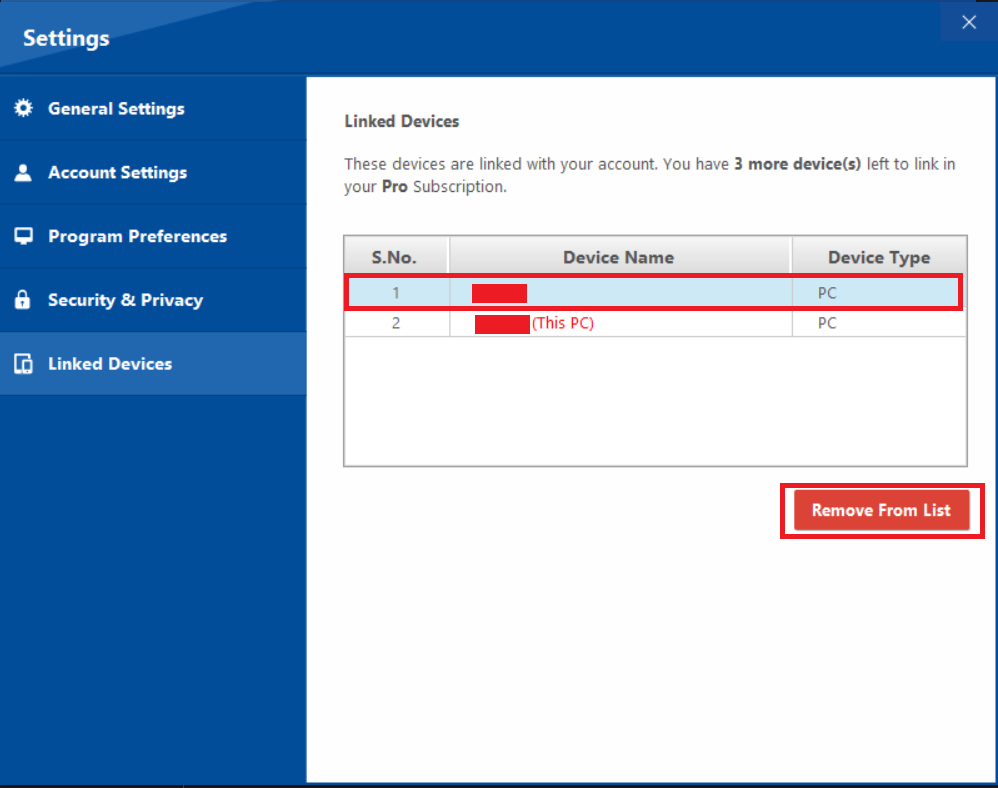
Step 3: Click on "Linked Devices"
- In the Settings window, you will see a menu on the left side.
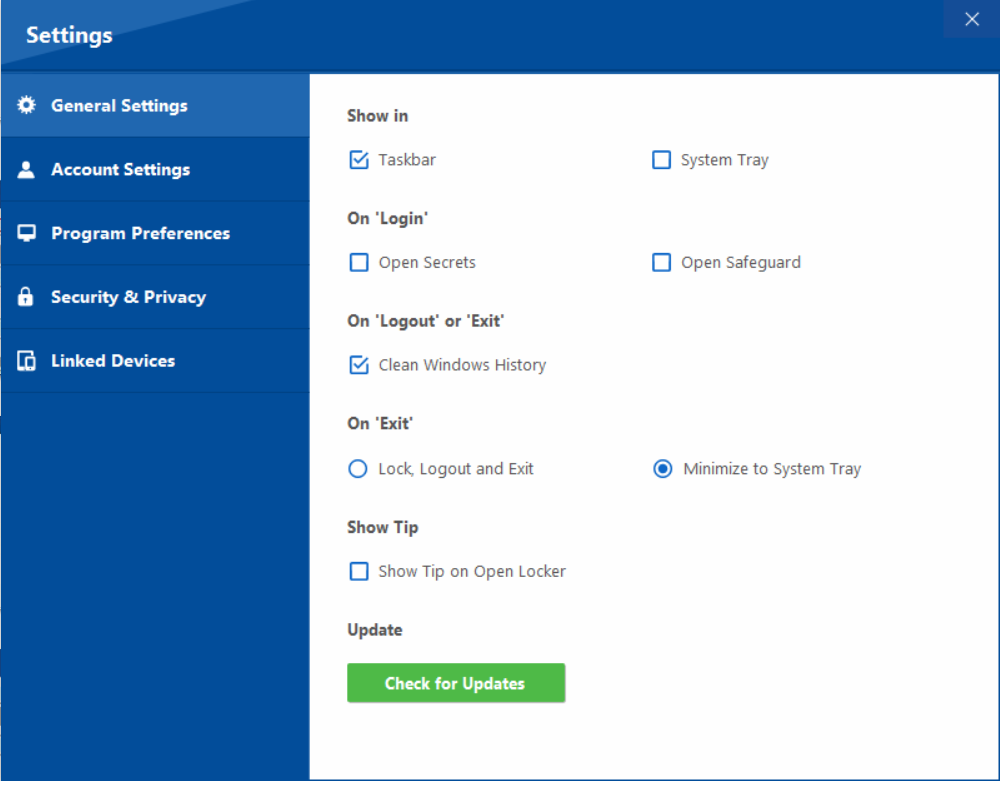
- Click on "Linked Devices" to view and manage all the devices connected to your Folder Lock account.

Step 4: View and Understand Your Device Limit
- The "Linked Devices" screen will display a list of all devices connected to your account.
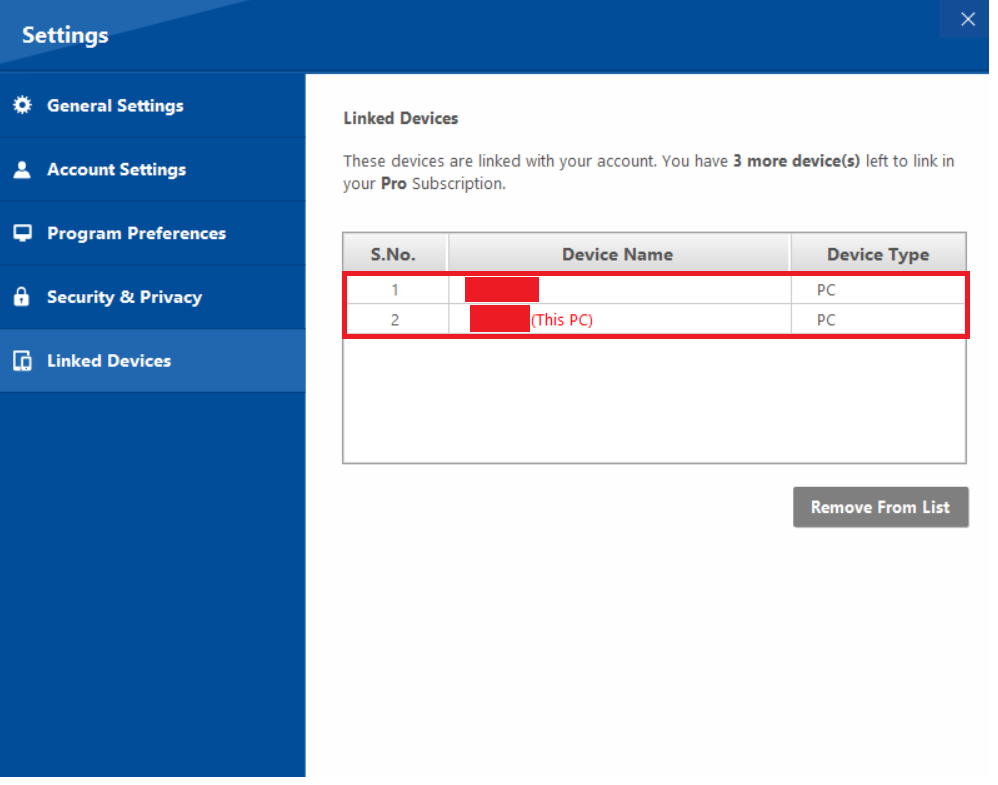
- This screen also shows your device limit. For the Free version, you can link up to 2 devices, while the Pro version allows for up to 5 devices.
Step 5: Remove a Linked Device
- To remove a device, simply click on the device name you wish to remove from the list.
- Once the device is selected, click the "Remove From List" button located at the bottom of the screen.
With the ability to easily add or remove linked devices, you can optimize your Folder Lock experience for maximum efficiency. These steps ensure your file synchronization remains flexible and secure, perfectly tailored to your evolving needs without exceeding your subscription limits.