
Folder Lock, developed by Newsoftwares.net, provides a crucial feature for protecting your data on portable media like USB drives, DVDs, or as email attachments. This powerful tool creates a single, encrypted file (.flka) that acts as a secure, self-contained vault. By creating these lockers, you can safeguard your sensitive information with a password-protected file that is both portable and highly secure.
Steps to Create Portable Locker
Below are the steps to create your first Portable locker.
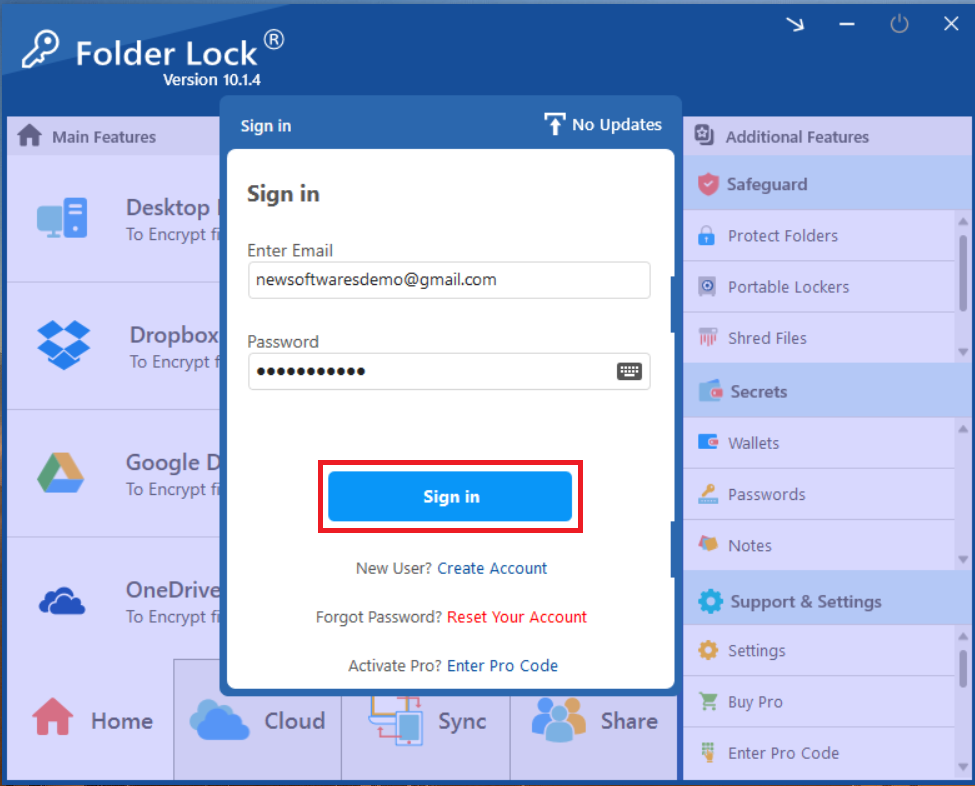
Step 1: Open Folder Lock and Log In
- Begin by launching the Folder Lock application on your computer. Locate the Folder Lock icon on your desktop or in your Start menu and double-click it.
- Once the application opens, you'll be prompted to enter your master password. Input your credentials to log into your Folder Lock account.
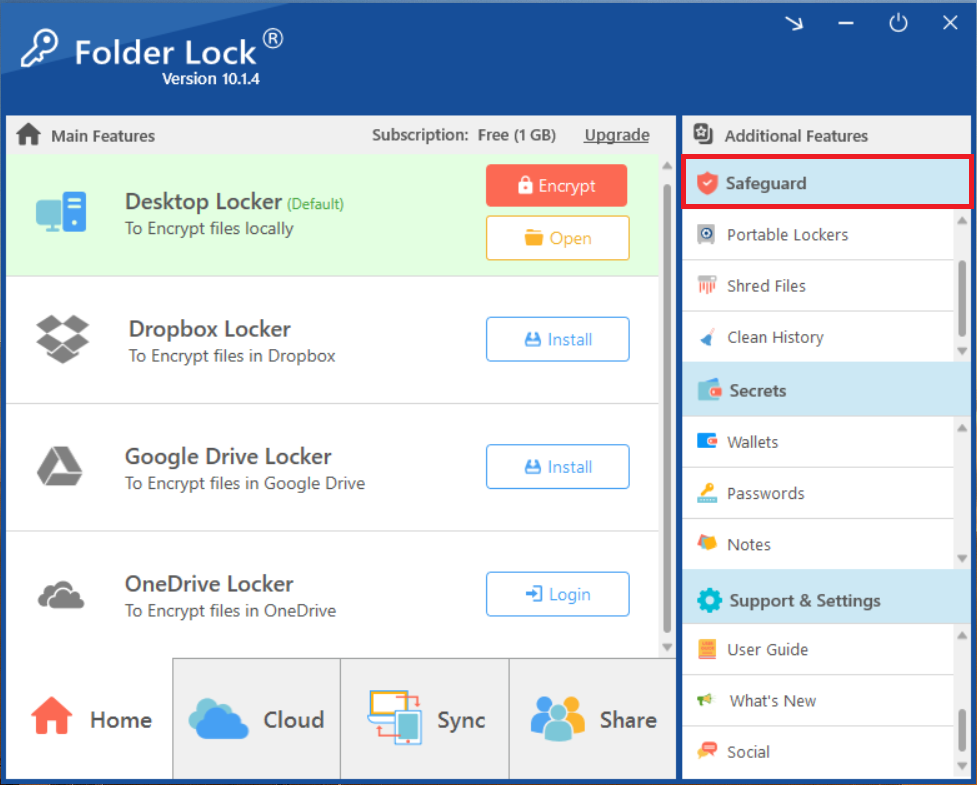
Step 2: Access the "Safeguard" Section
- On the main screen of Folder Lock, click on the "Safeguard" option. Look for the "Safeguard" tab or button in the right sidebar.
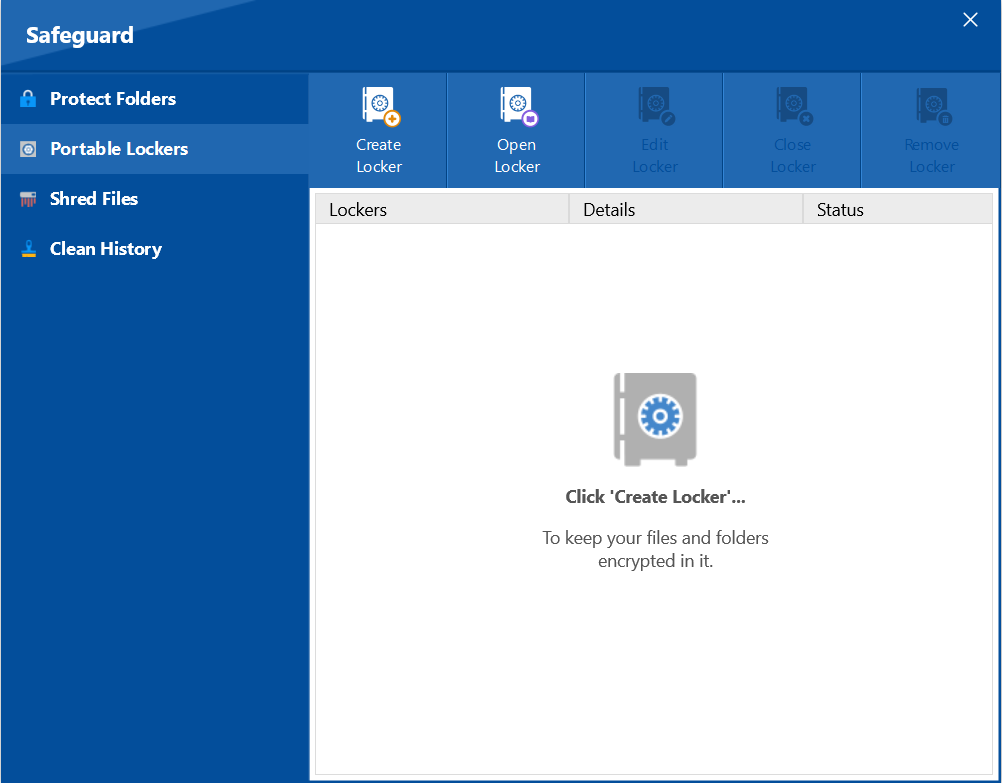
Step 3: Choose "Portable Lockers"
- Within the "Safeguard" section, select the "Portable Lockers" feature. Look for the icon or text labeled "Portable Lockers" among the options in the "Safeguard" menu and click on it.
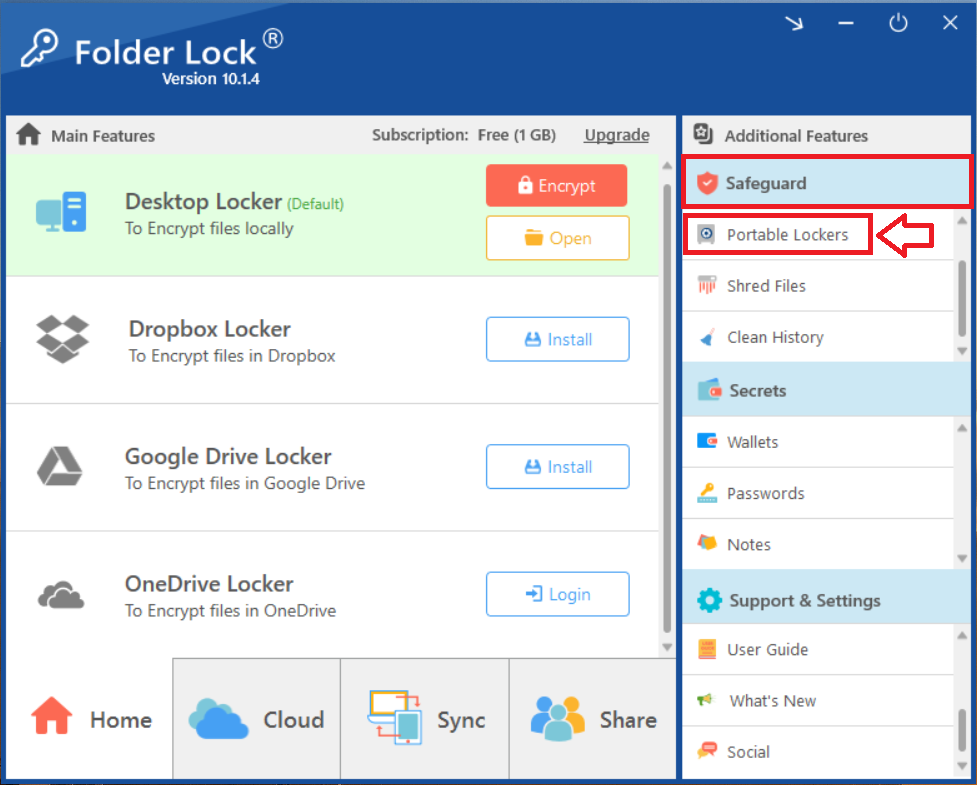
- Clicking on "Portable Lockers" will open the interface for creating new portable lockers.
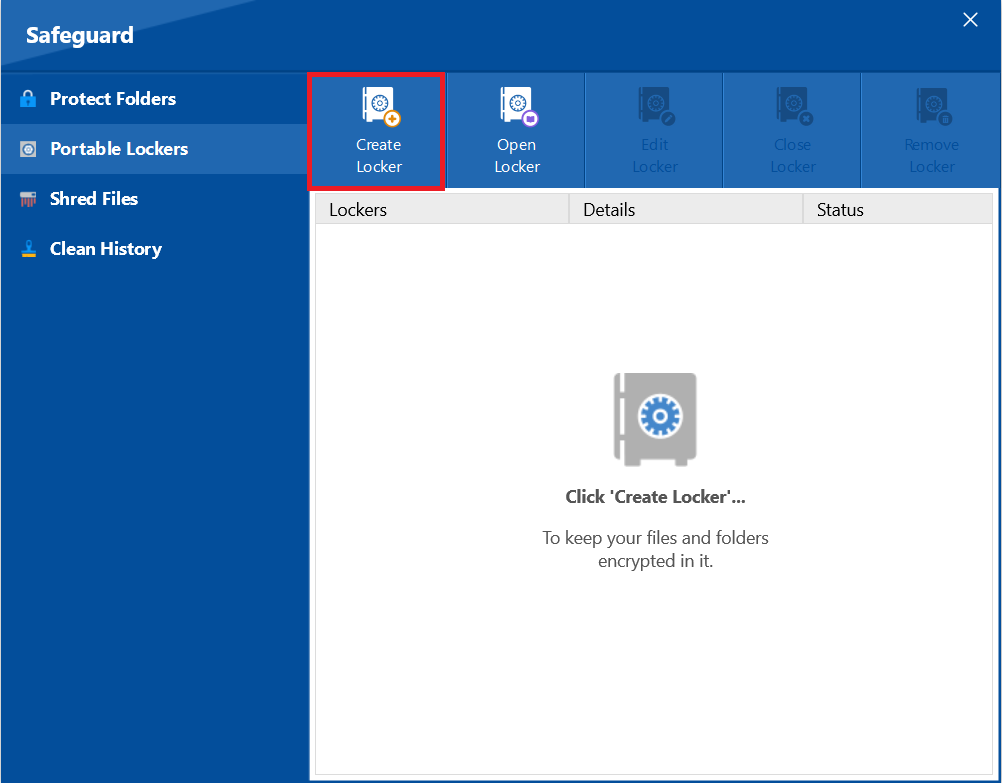
Step 4: Create Your Portable Locker
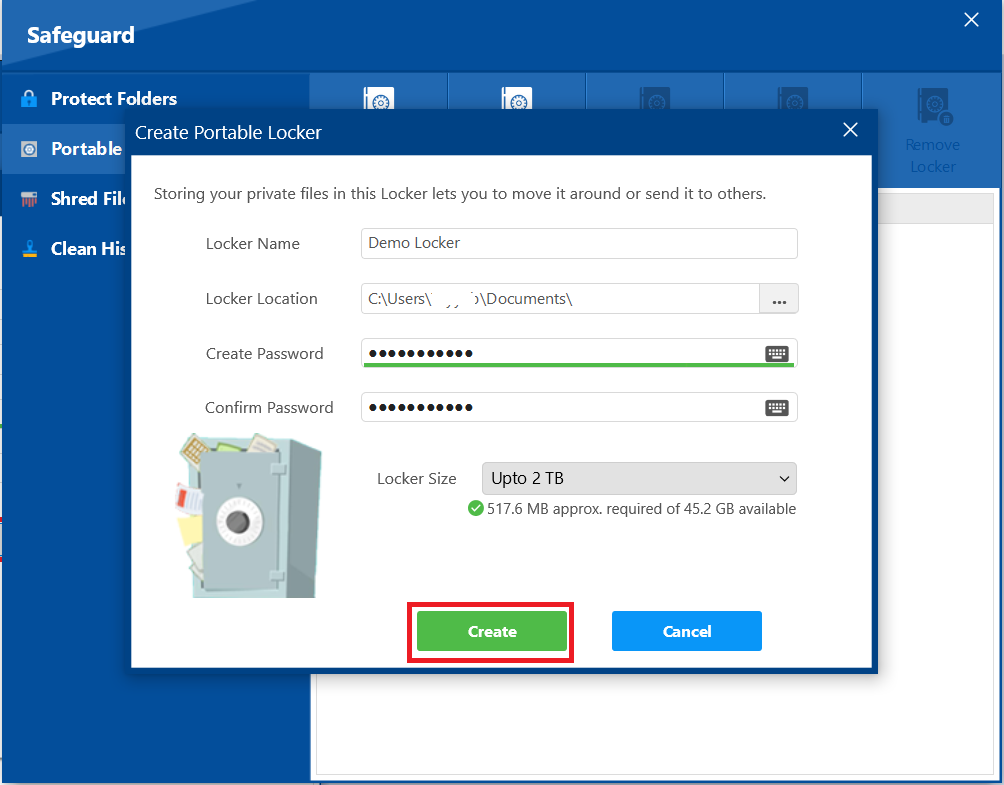
- On the interface of Portable lockers, Look for "Create Locker" and click on it.
- Clicking on Create Locker will open a new screen that displays Locker Name, Locker Location, Create Password, Confirm Password as shown in screenshot.

- Fill required fields i.e. Locker Location, Create Password and Confirm Password
- Locker Name. Give your portable locker a descriptive name.
- Locker Location. Choose where you want to save this locker initially; for a USB drive, save it directly to the drive, or for an email attachment, save it to your desktop first.
- Create Password. Enter a strong, unique password for this specific portable locker and confirm it.
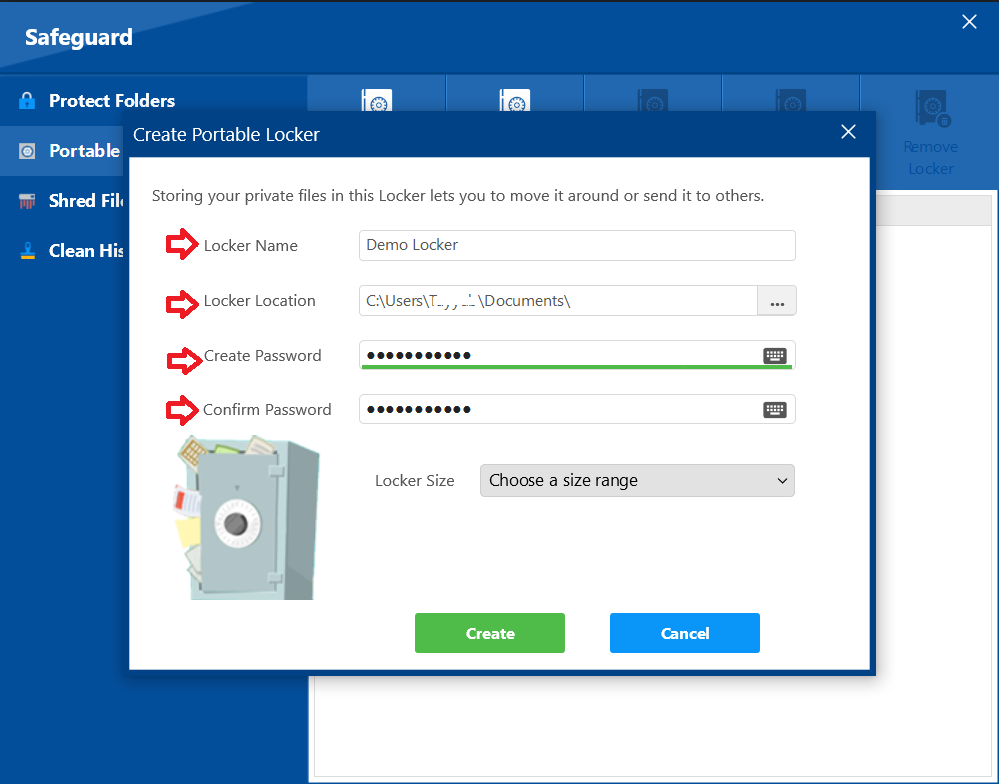
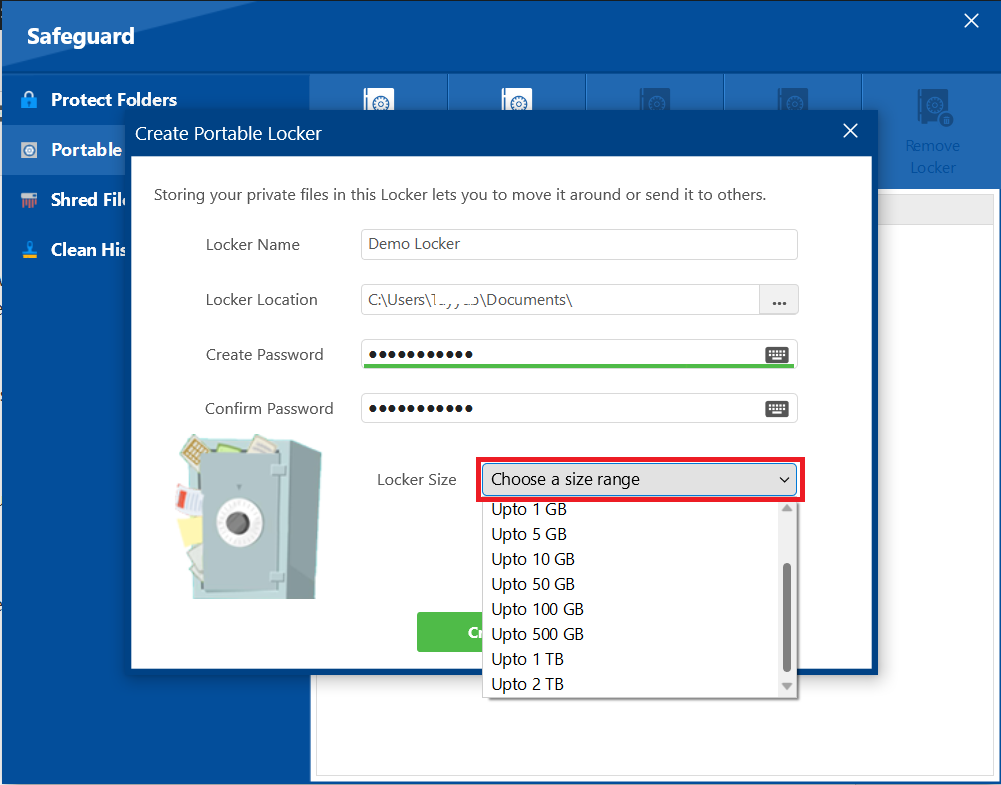
- Set Locerk Size. Use the dropdown or input field to set the maximum size for your locker (up to 2 TB for Pro users).
- After setting all options, click the "Create" button to create portable locker.
Step 5: Confirm Creation and Access Locker
- A confirmation pop-up titled "Portable Locker Successfully Created!" will appear.
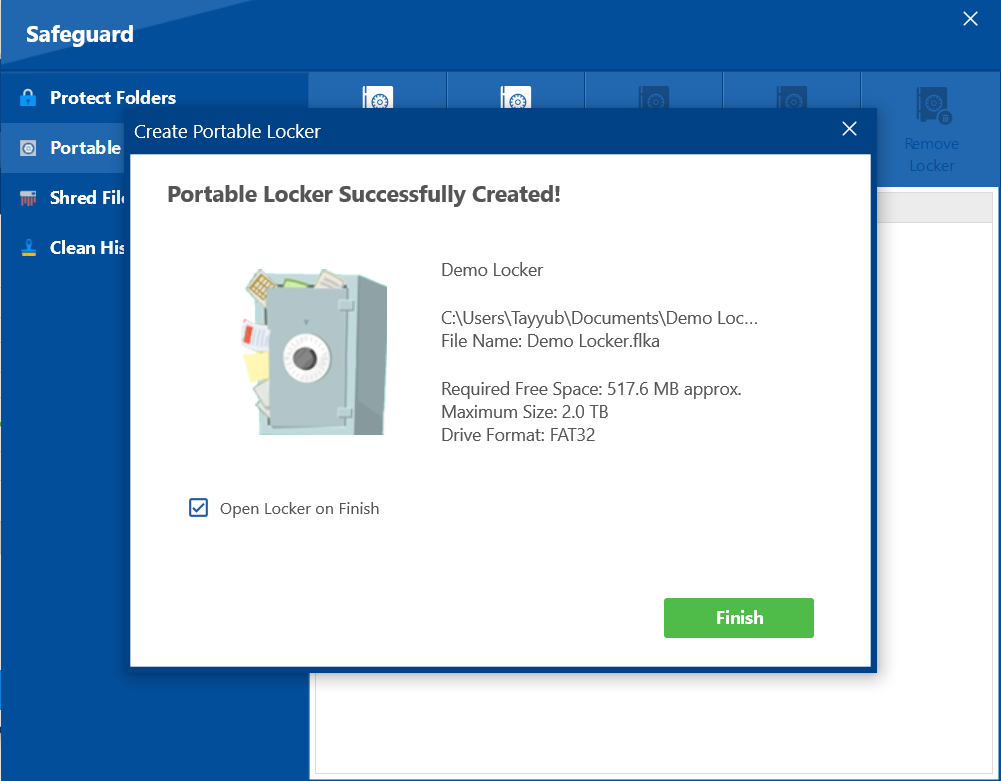
- You can choose to open the locker immediately after creation by ensuring the "Open Locker on Finish" checkbox is selected.
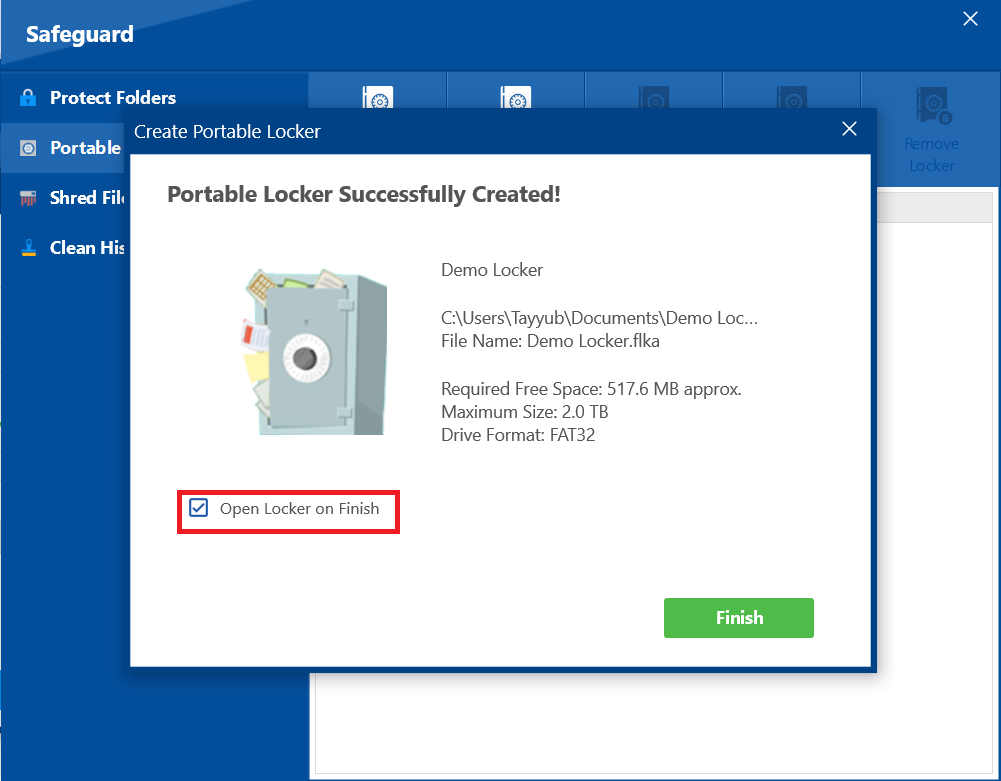
- Click the green "Finish" button to complete the process.

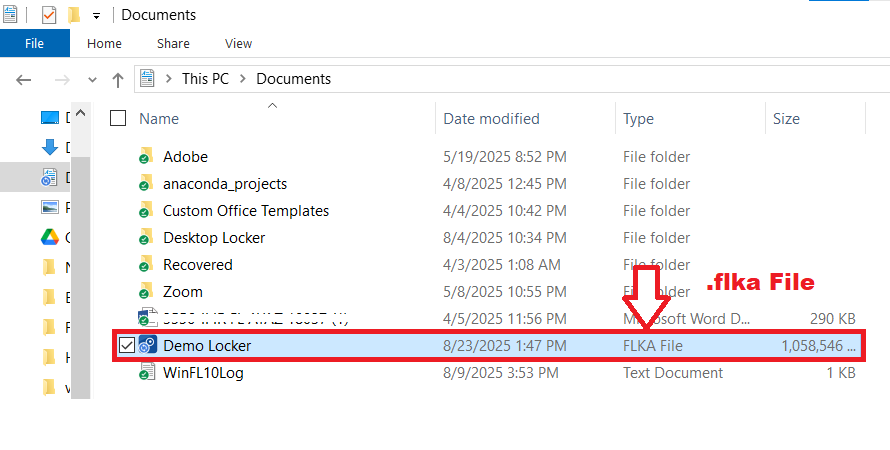
- Once your portable locker is created, it functions as a single, encrypted file (with a
.flkextension) that holds all your secured data. You can handle this.flkfile just like any other document on your computer.
With your portable locker now successfully created, you have a powerful and versatile security tool at your command. This simple process allows you to untether your sensitive data, ensuring it remains encrypted and protected even when it is moved to a USB drive, a DVD, or sent as an email attachment. You can now confidently carry or share your confidential information, secure in the knowledge that your privacy is maintained wherever your files travel.