
Folder Lock, developed by Newsoftwares.net, provides a powerful set of tools to safeguard your most sensitive personal information. The dedicated "Wallets" feature allows you to centralize and protect critical data, ensuring your financial details, personal IDs, and business records remain confidential and inaccessible to unauthorized individuals. This overview will walk you through the simple steps to create an encrypted wallet in Folder Lock.
Part 1: Accessing the Wallets Section
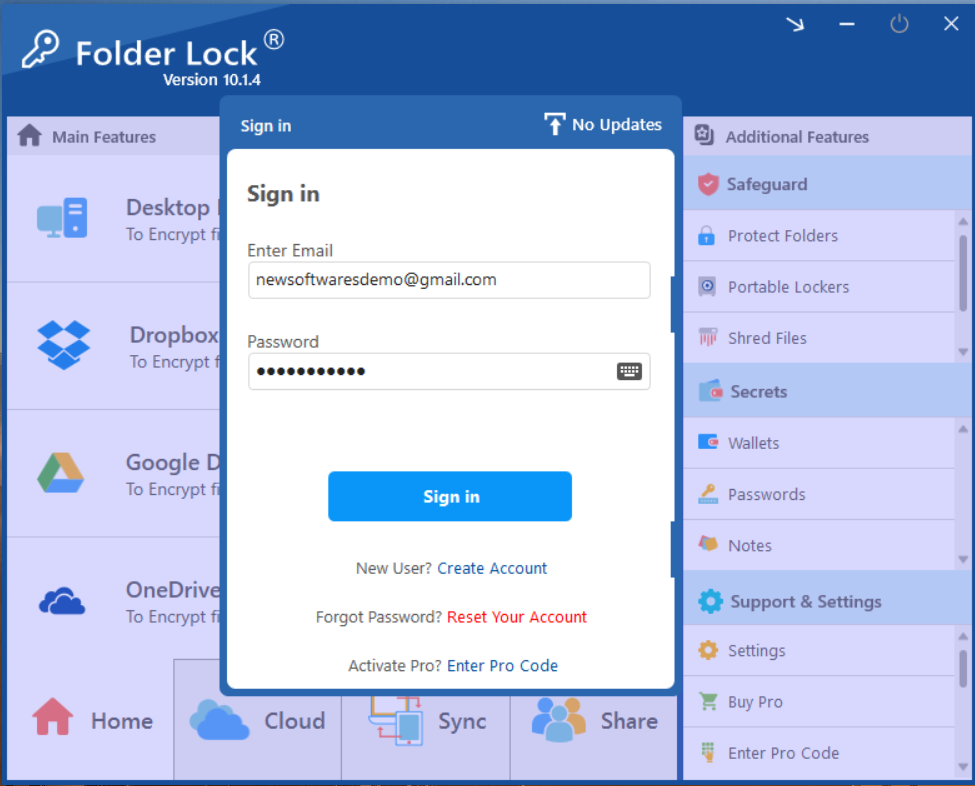
Step 1: Log In to Folder Lock
- Open the Folder Lock application on your computer and log in to your account using your credentials.
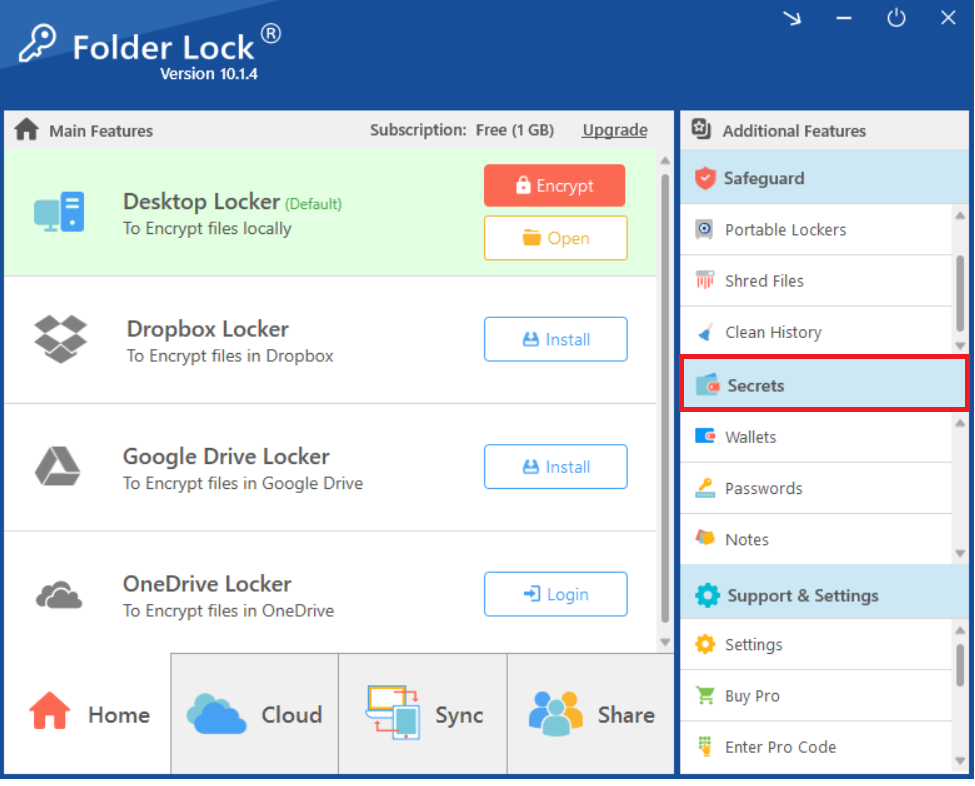
Step 2: Go to the "Secrets" Tab
- Once logged in, navigate to the "Secrets" tab in the main menu (located on the right side of main window). This section is specifically designed for managing highly confidential information like wallets, passwords, and notes.
Step 3: Go To Wallet
- Within the "Secrets" tab, locate and click on "Wallets."
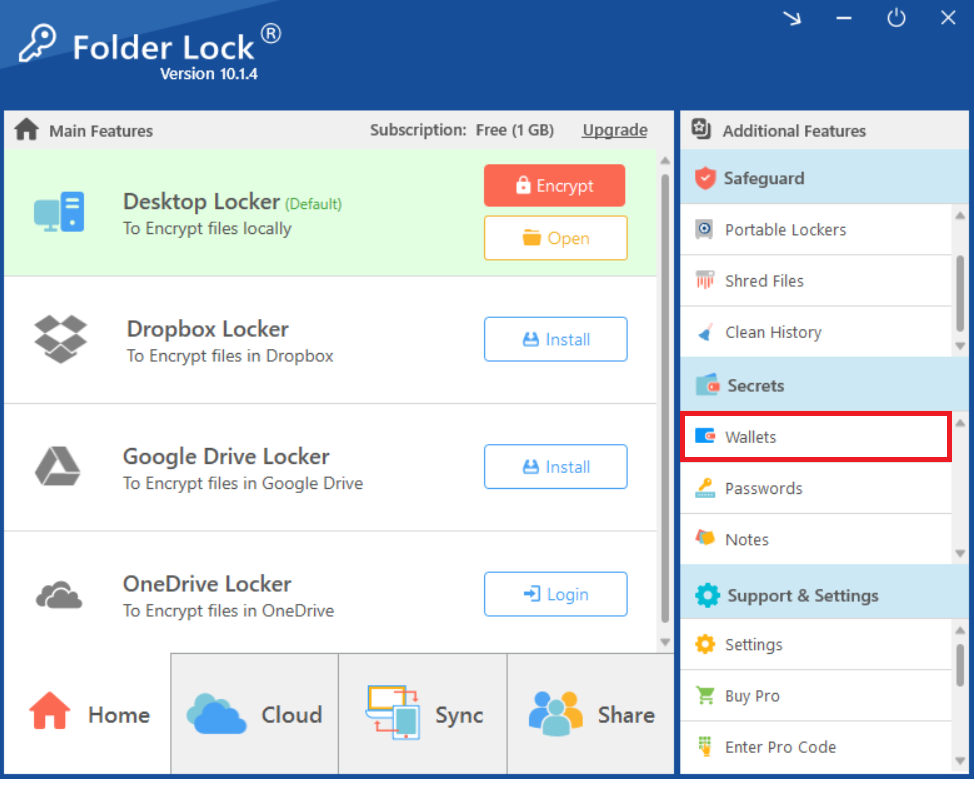
- A new popup screen appears, that displays wallets on the top left corner

Part 2: Creating a Wallet Folder
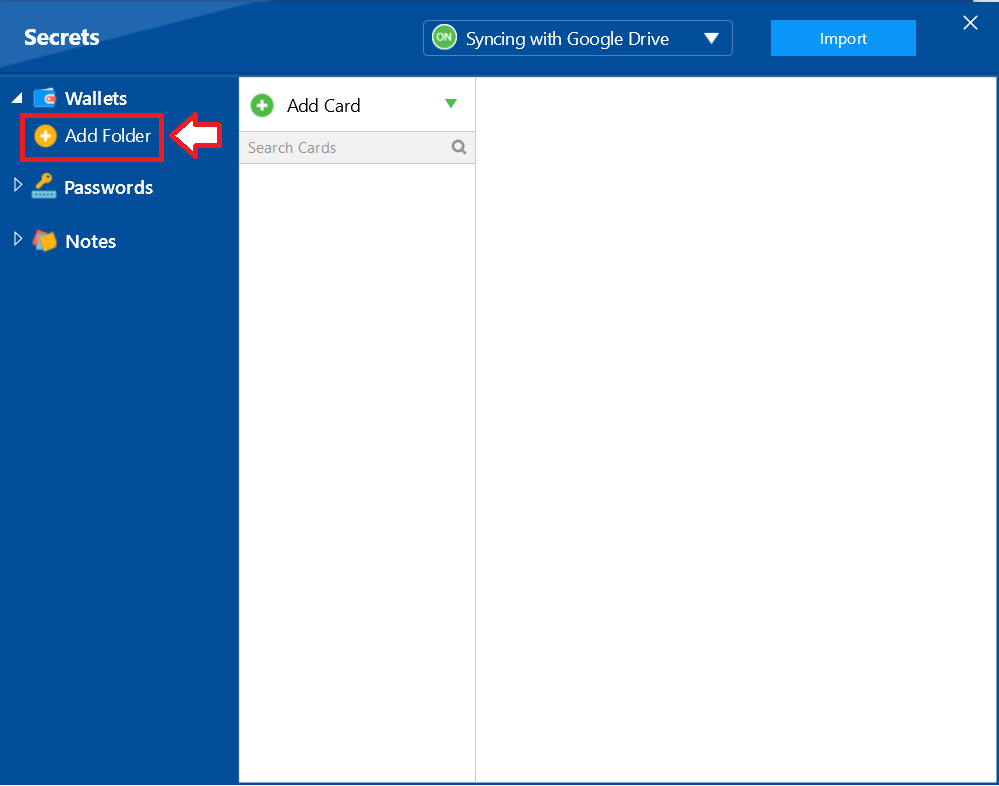
Step 4: Click Wallets & "Add Folder"
- Click on "Wallets".
- To organize your wallets, you can create a folder. Click on "Add Folder" to open a new pop-up window.
Step 5: Name Your Folder
- A pop-up appears that displays "Add New Folder".
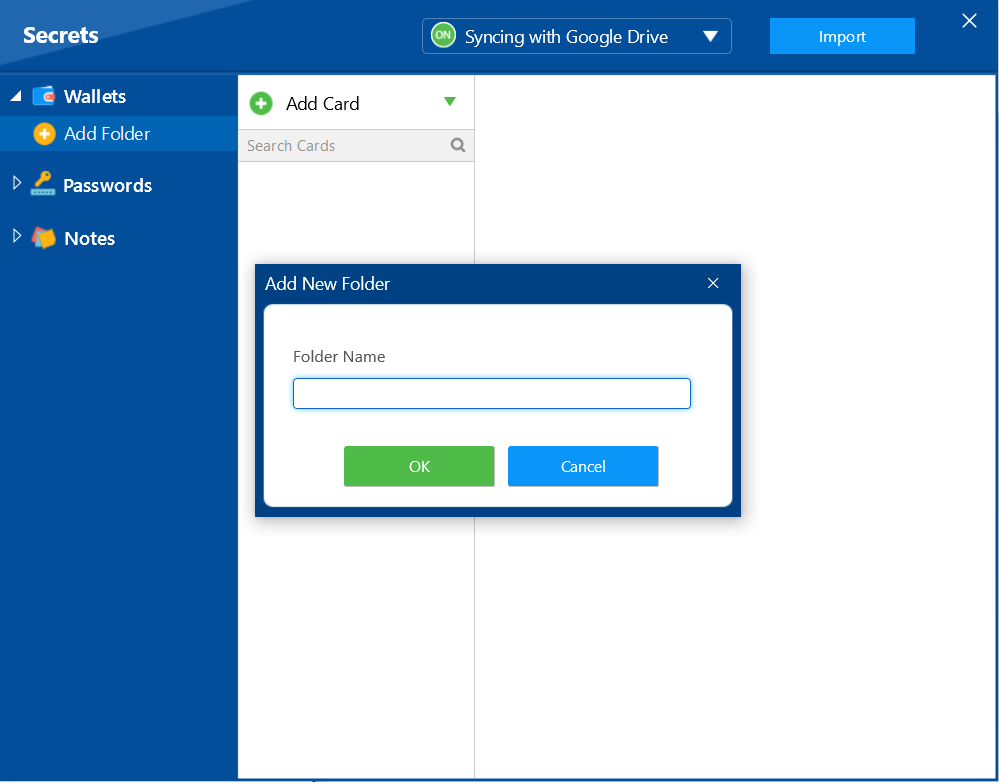
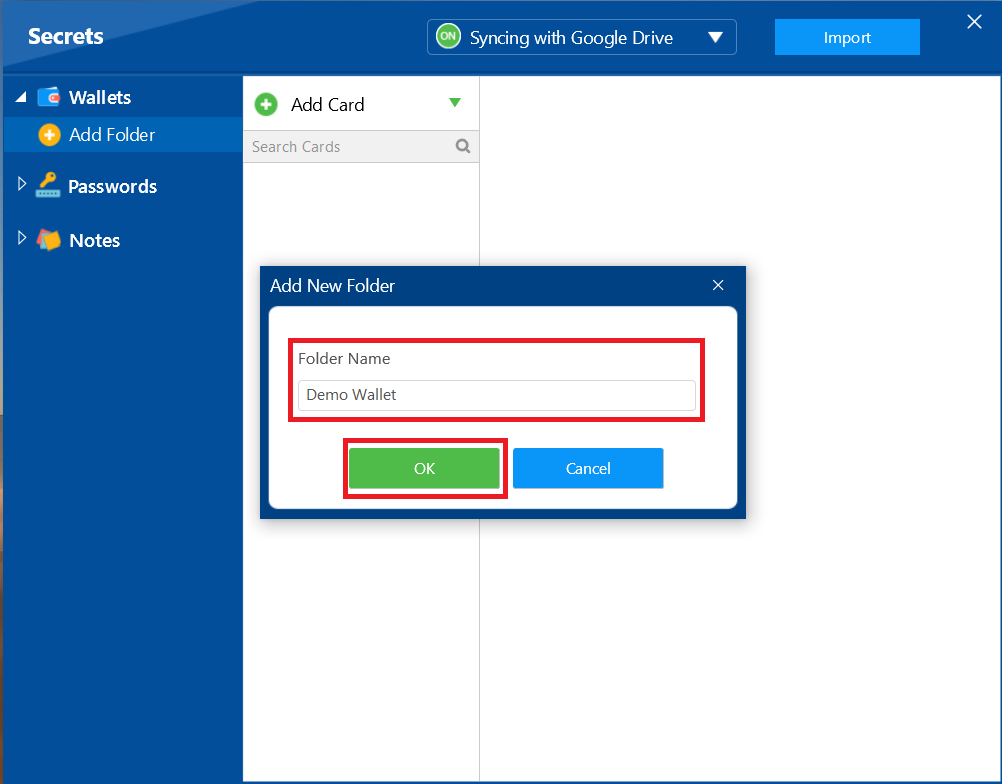
- In the pop-up, write a name for your folder (e.g., "Demo Wallet") and click "OK."
Step 6: Confirm Your Folder is Created
- Your new folder "Demo Wallet" will now appear listed under "Wallets." Click on your new folder to open it.

Part 3: Adding a New Wallet Entry
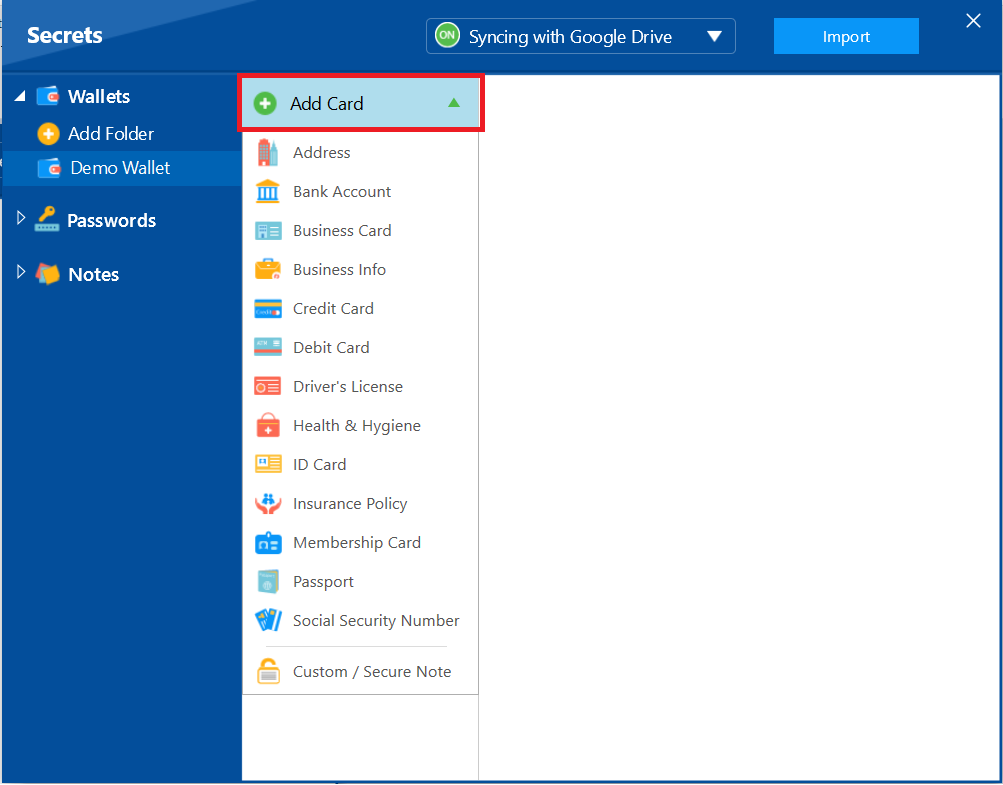
Step 7: Click "Add Card"
-
With your new folder open, click on "Add Card" to see a list of available wallet types. In wallets you can add a wide variety of information, from Address, Bank Account, Business Card, Business Info, Credit Card, Debit Card, Driver's License, Health & Hygiene, ID Card, Insurance Policy, Membership Card, Passport, Social Security Number, Custom / Secure Note.
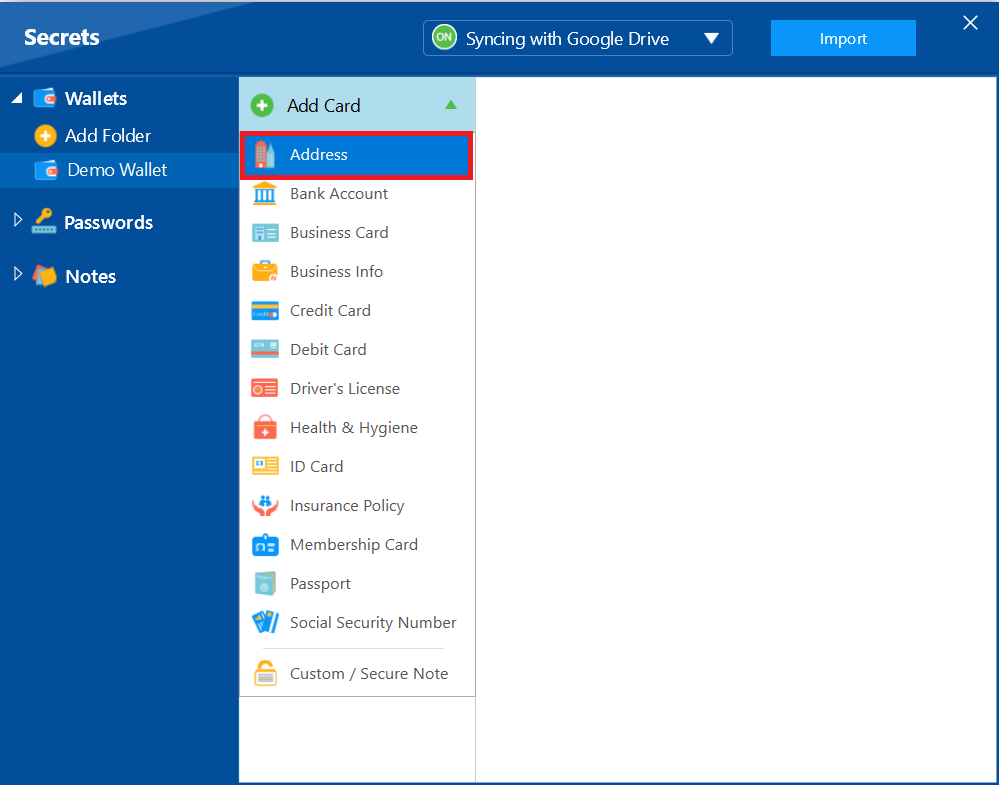
Step 8: Select Your Wallet Type
- For this example, let's create an Address card. Click on "Address" from the list.
Step 9: Name Your Wallet
- A pop-up will appear asking you to name your new Address wallet. Write a descriptive name (e.g., "My Address") and click "OK."
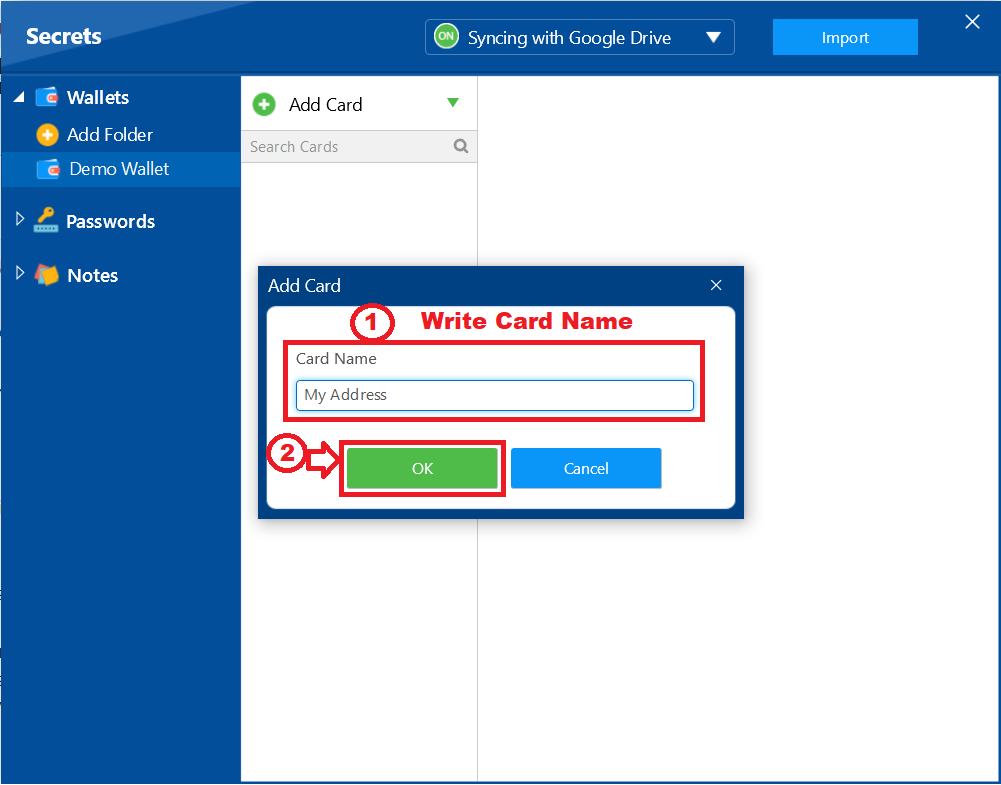
- Your Address card "My Address"created succesfully.
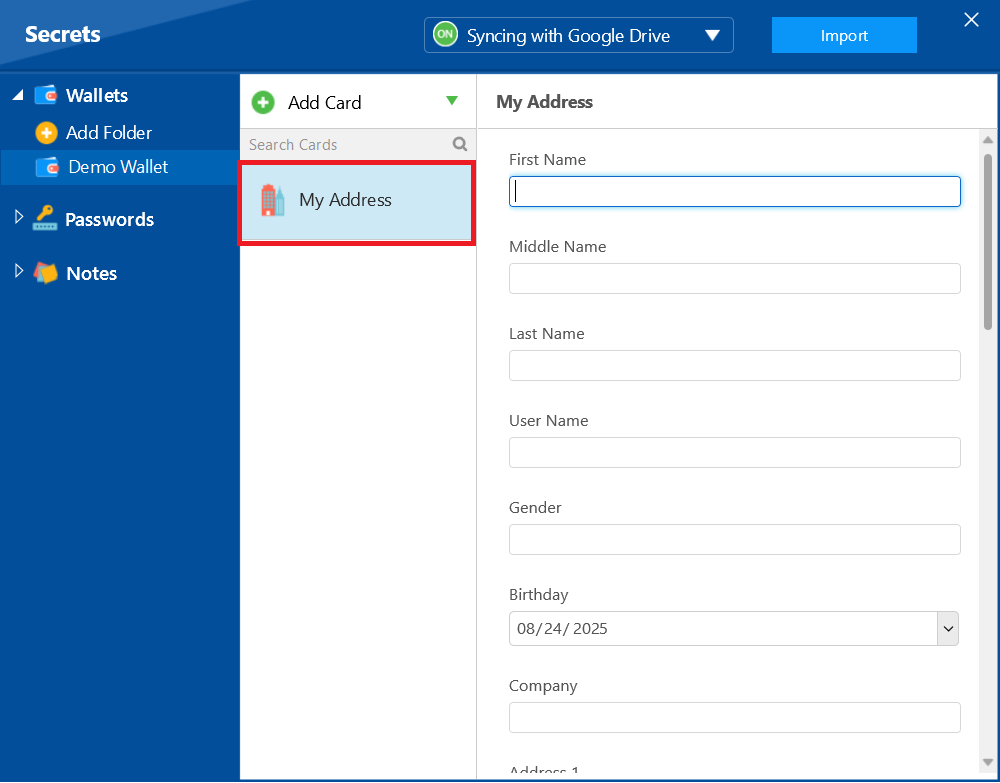
Step 10: Fill in Your Details
- A form will appear with fields for the details of your wallet. Fill in all the required fields, such as "First Name," "Last Name," and "Company" etc.

With your new folder open, click on "Add Card" to see a list of available wallet types. In wallets you can add a wide variety of information, from Address, Bank Account, Business Card, Business Info, Credit Card, Debit Card, Driver's License, Health & Hygiene, ID Card, Insurance Policy, Membership Card, Passport, Social Security Number, Custom / Secure Note.
- For this example, let's create an Address card. Click on "Address" from the list.
Step 9: Name Your Wallet
- A pop-up will appear asking you to name your new Address wallet. Write a descriptive name (e.g., "My Address") and click "OK."
- Your Address card "My Address"created succesfully.
Step 10: Fill in Your Details
- A form will appear with fields for the details of your wallet. Fill in all the required fields, such as "First Name," "Last Name," and "Company" etc.
With your encrypted wallets now meticulously organized and secured, you've established a robust defense for your most sensitive personal information. This detailed process ensures that your financial details, personal IDs, and business records are not only centralized but also protected with military-grade encryption. You can now confidently manage your digital life, knowing that your privacy is maintained and your valuable data is safe from unauthorized access.